

The project this week is about trying to be more eco friendly with 3d printing. I wanted to try and find a way to reuse my prototypes and failed print PLA scrap. From some of my research I found the Precious Plastics website and the Brothers Make YouTube channel and used their learnings as a basis for some of the process I used here.
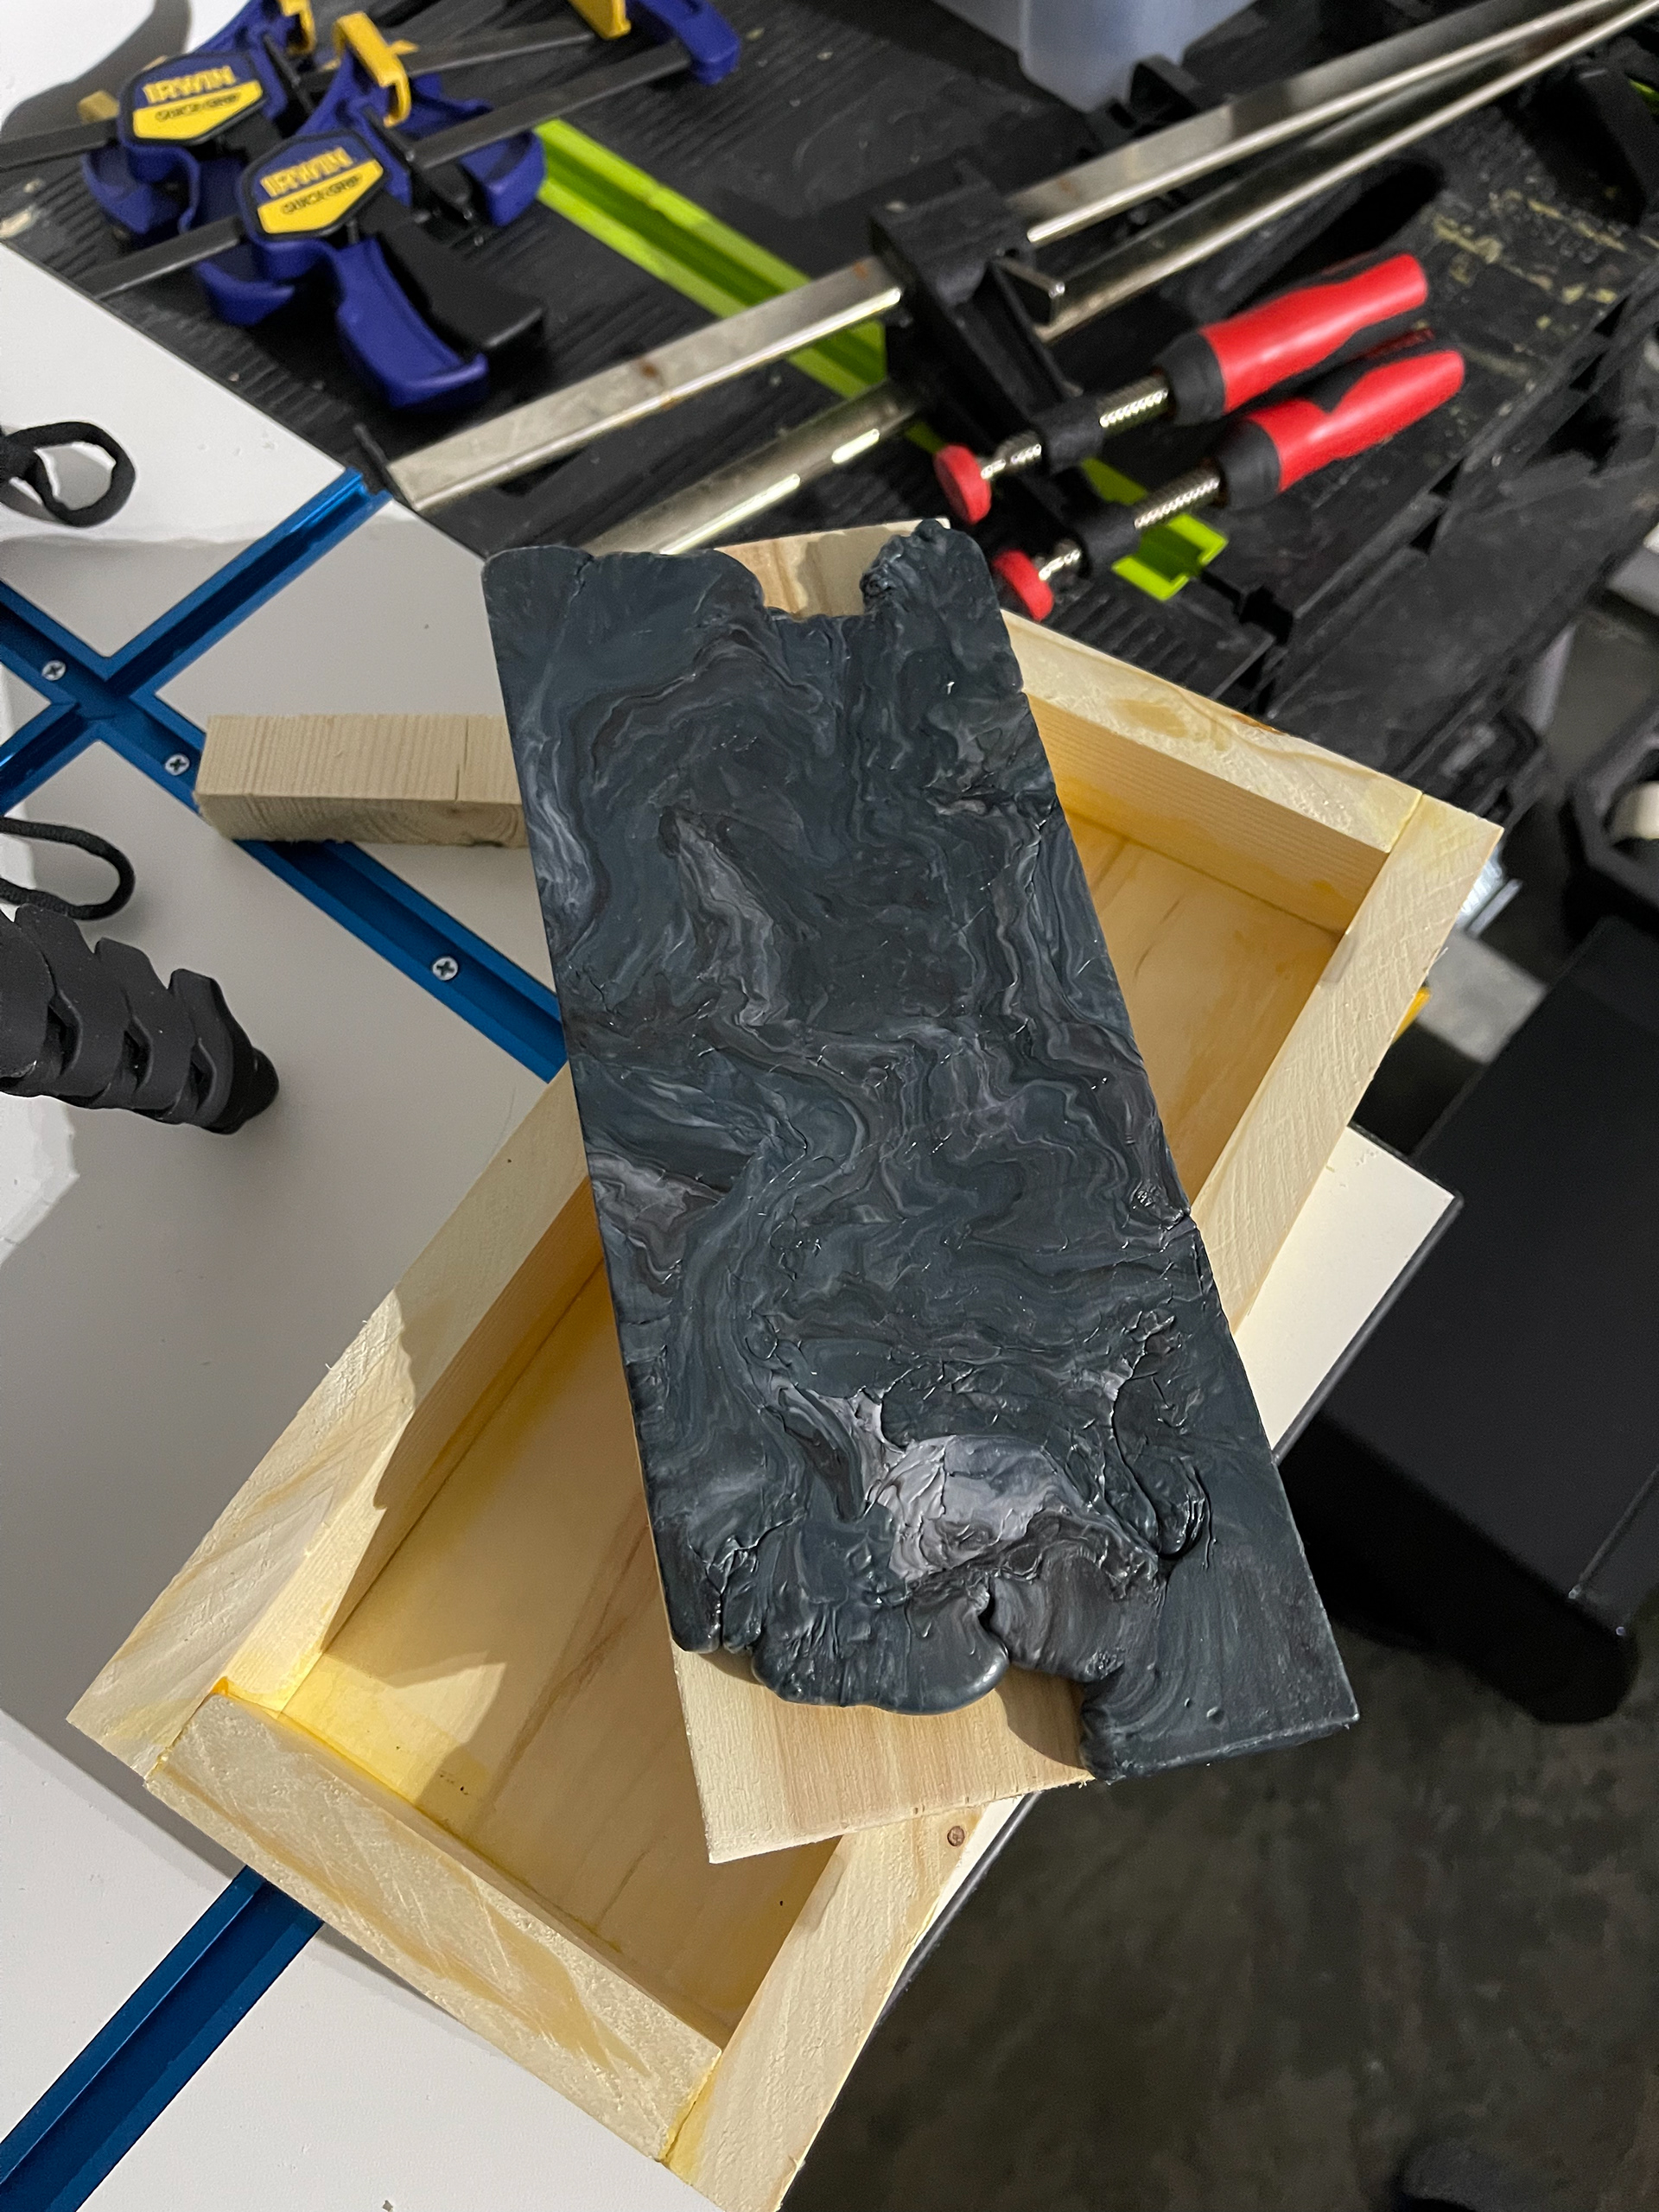
The most critical part of this process is what to do with the plastic after it is melted. I will admit I am still working to solve this. In order to make forward progress, I started by building a small sheet mold out of wood to form the melted plastic. With my current shop I do not have the ability to weld metal so I used some wood scraps to build the first mold. It ended up being around 10.5 inches x 4.24 inches with the depth of a max of about 3/4 inch. I lined the mold with paste wax to keep the plastic from sticking.
To prepare for the melting process I acquired a few things. I acquired a used toaster oven that has the ability to stay on at a set temp for melting the plastic. To keep the plastic from sticking I lined the metal pan that came with the oven with a teflon baking sheet. To handle the plastic I used a pair of silicon oven mitts, a recommendation from Brothers Make as the plastic does not stick to them. I do not have a shredder that could break the prints down so moved forward with melting the entire parts.
When melting, I setup the toaster oven outside at a temp of 340F. To my understanding, the fumes produced by PLA are non toxic so long as the plastic does not burn. I did find that the smell is much stronger than when just 3D printing PLA because of the quantity being melted at the same time. I setup a fan about halfway through the process to help distribute the fumes. It took about 45 minutes to melt the plastic evenly and during that time I worked the material together by twisting and folded it over twice. At that 45 minute mark I called it and pulled out the plastic to get it over to the mold.
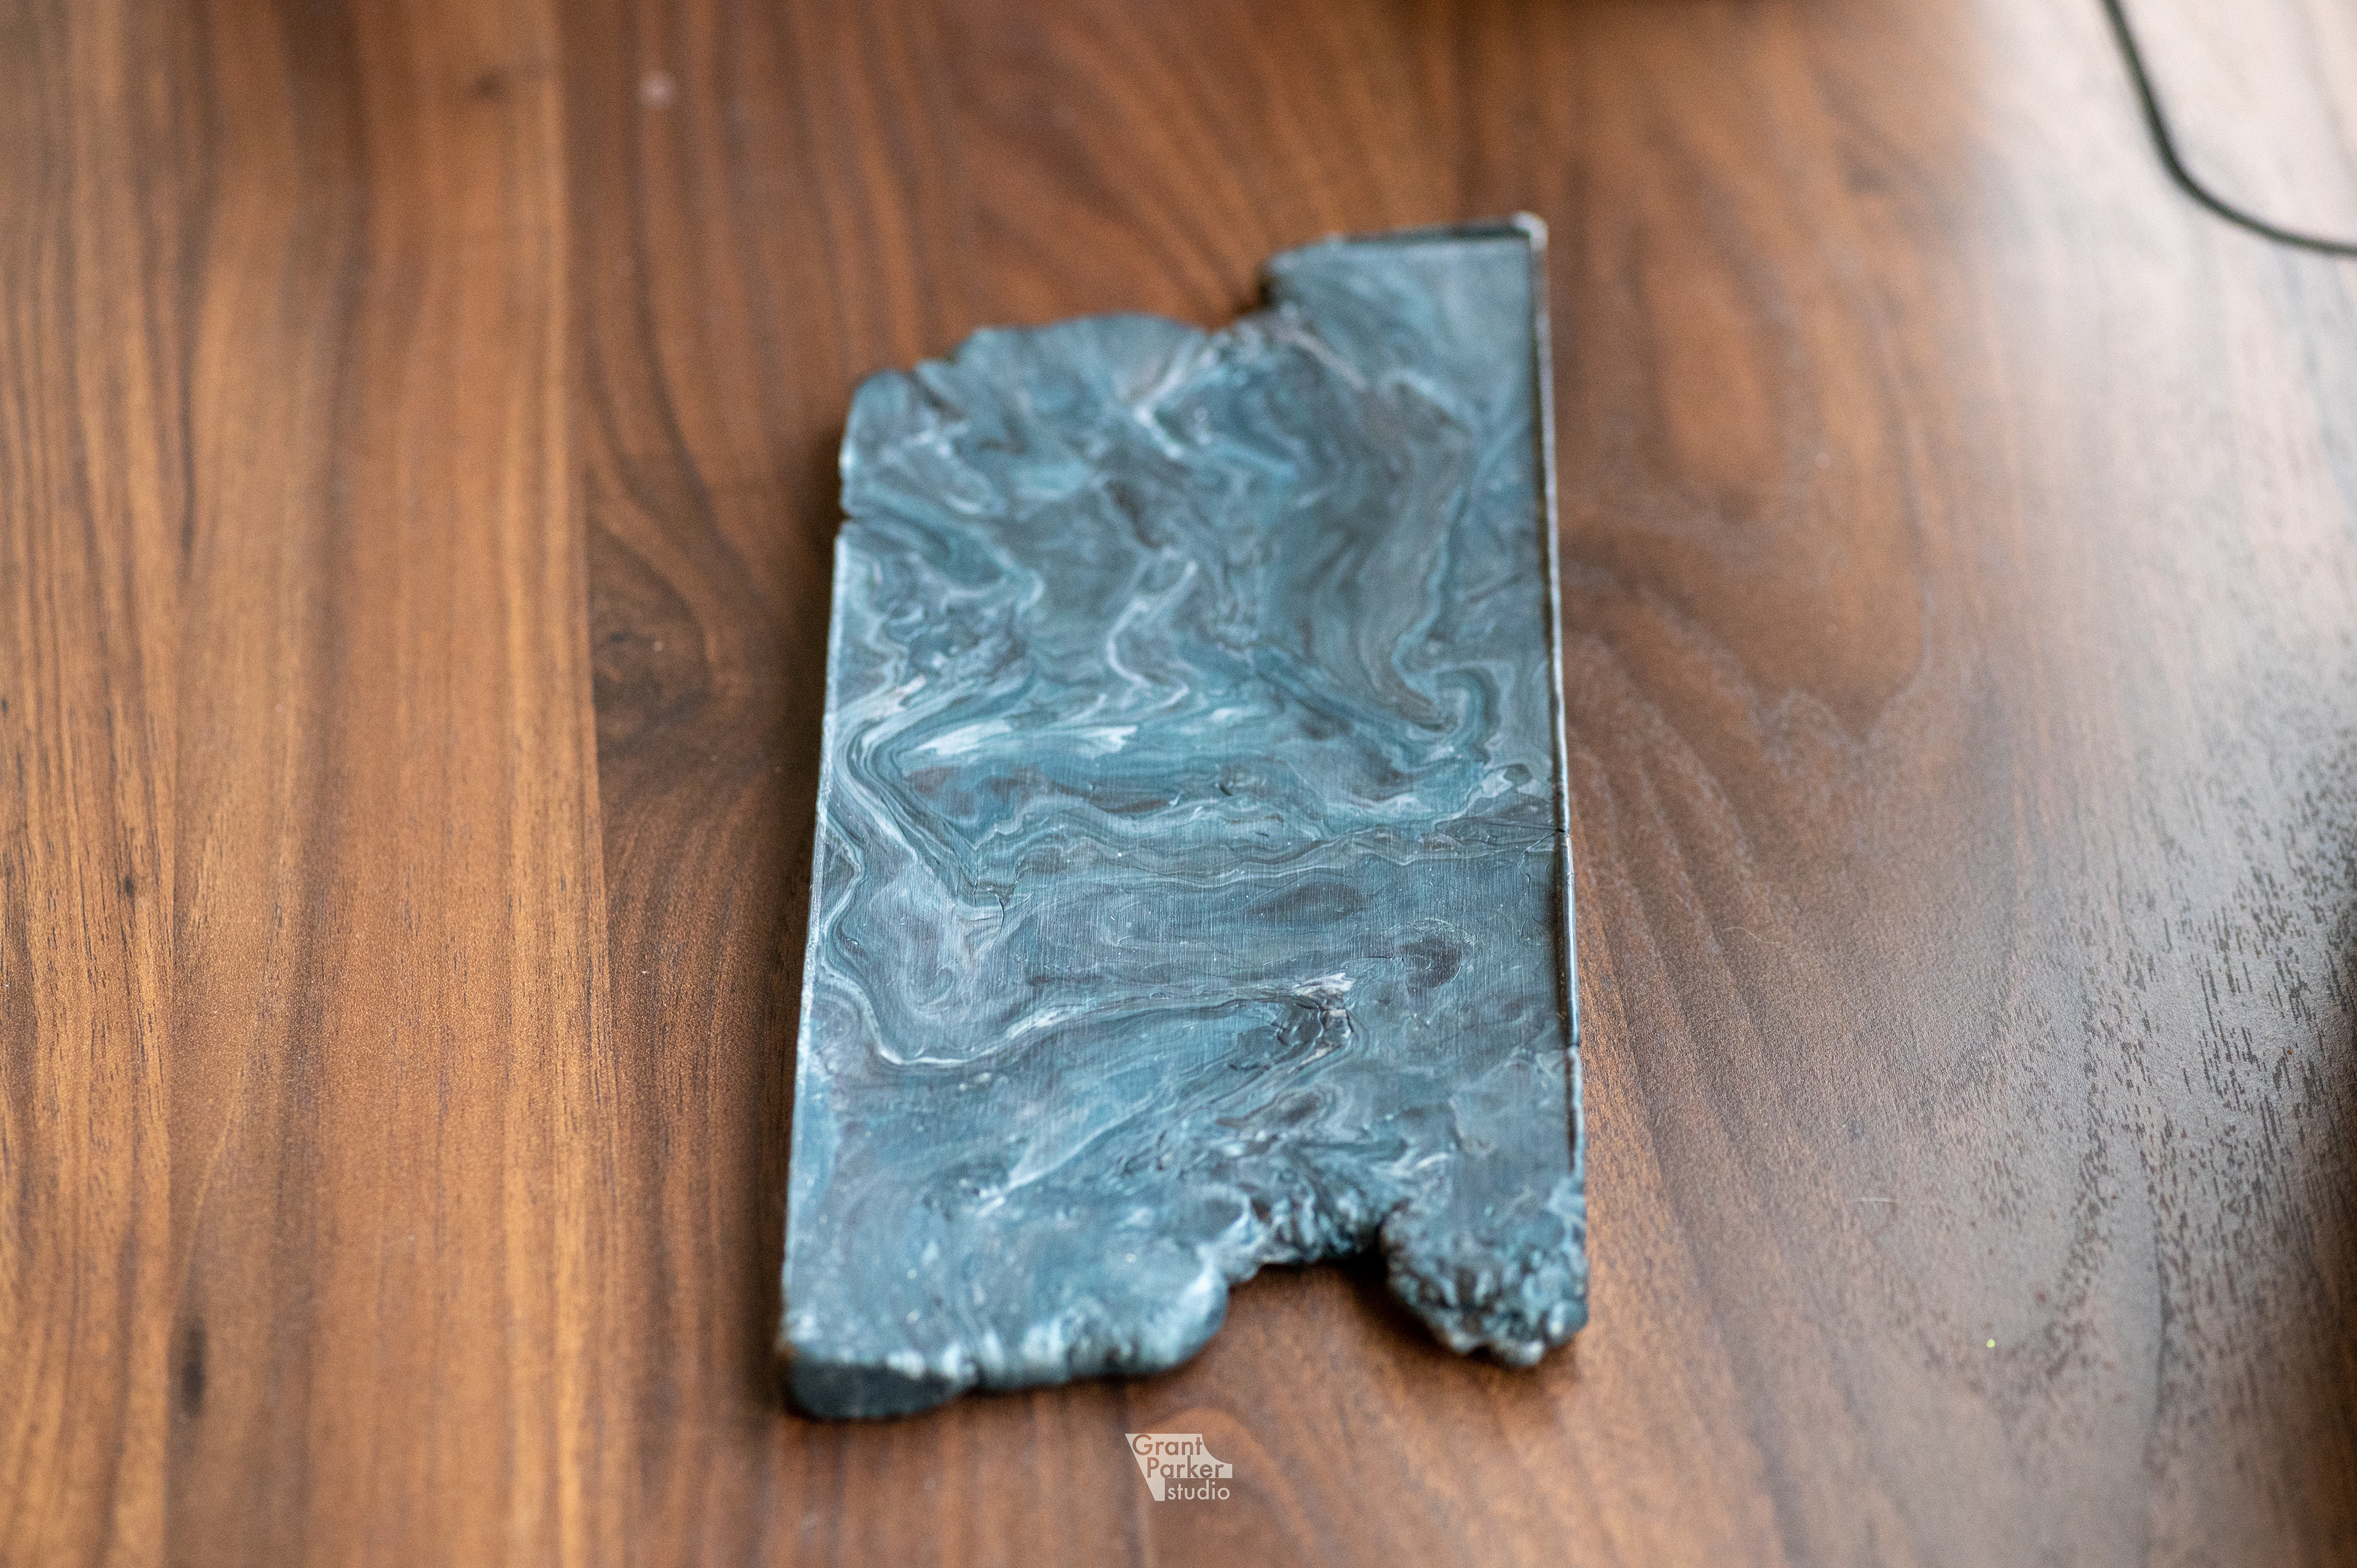
Working quickly I put the plastic in the mold. I compressed the plastic and them clamped it up. I let it sit and cool for around 4 hours. The results are shown in the pictures. I plan to find someway to use this piece and it still takes up far less space than the original printed pieces. It could have gone better but I have learned a great deal from this process. And look forward to the next attempt.
What could have gone better.
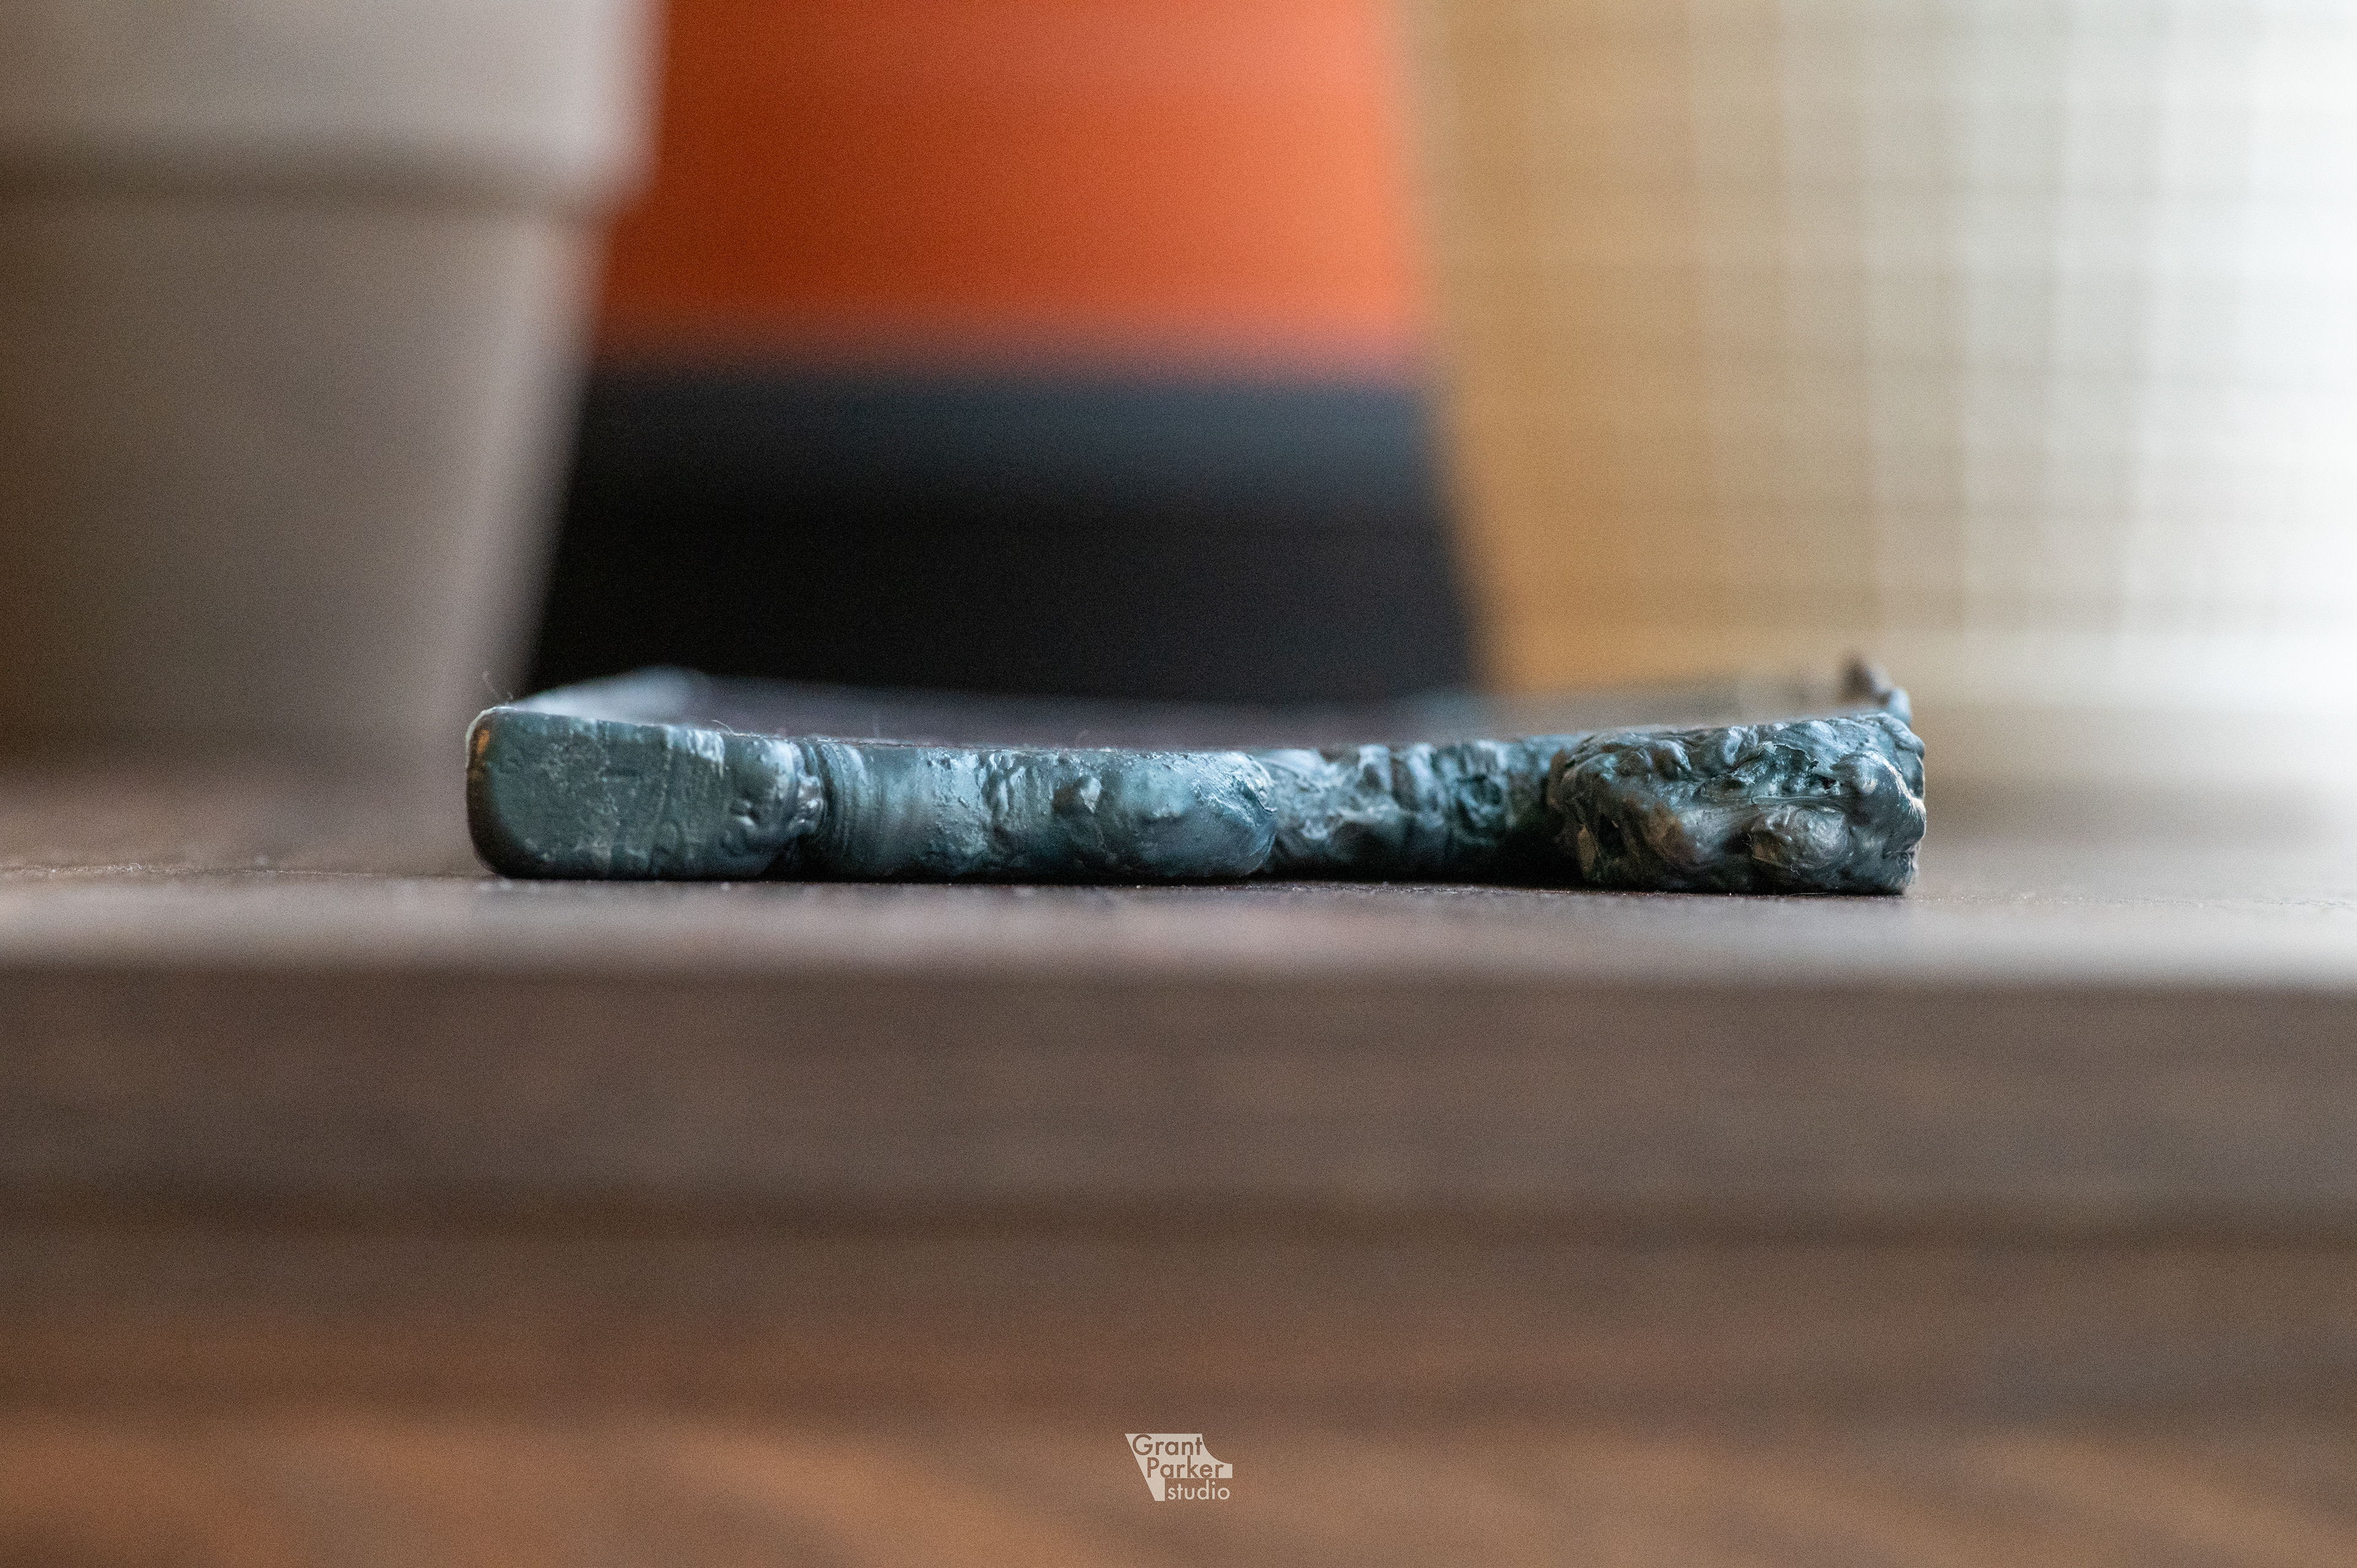
The top was not reinforced and was a 1/4 inch piece of wood so when all the clamping pressure was applied it warped the board so now there is a curve to the top plane of the plastic.
The mold warped so the plastic turned out to not be level on the bottom plane.
I calculated how much plastic I need based on the density of PLA (1.24g/m^3 from my research) and the volume of the mold but it still was not enough to fill the mold and be 1/2 inch thick.
I should have left the plastic in the oven longer.
I need to find a way to heat the mold up a bit so it is not a temperature shock to the plastic.
Risks in this process.
I have some concerns that there may be micro bubbles in the plastic from the hollow infill that may cause issues with cutting or working with the material.
I have some concerns that there may be micro bubbles in the plastic from the hollow infill that may cause issues with cutting or working with the material.
What I want to try next time.
Smaller, sturdier mold. - I plan to use plywood for the next one.
Break prints down a bit more. Hammer.
Smaller, sturdier mold. - I plan to use plywood for the next one.
Break prints down a bit more. Hammer.
References I used:
https://www.youtube.com/watch?v=LL3gh-WrTew - Process
https://www.simplify3d.com/support/materials-guide/properties-table/ - PLA density
https://preciousplastic.com - Overall Inspiration
https://www.youtube.com/watch?v=LL3gh-WrTew - Process
https://www.simplify3d.com/support/materials-guide/properties-table/ - PLA density
https://preciousplastic.com - Overall Inspiration