
The next iteration in this experiment includes a new mold.
Mold Build
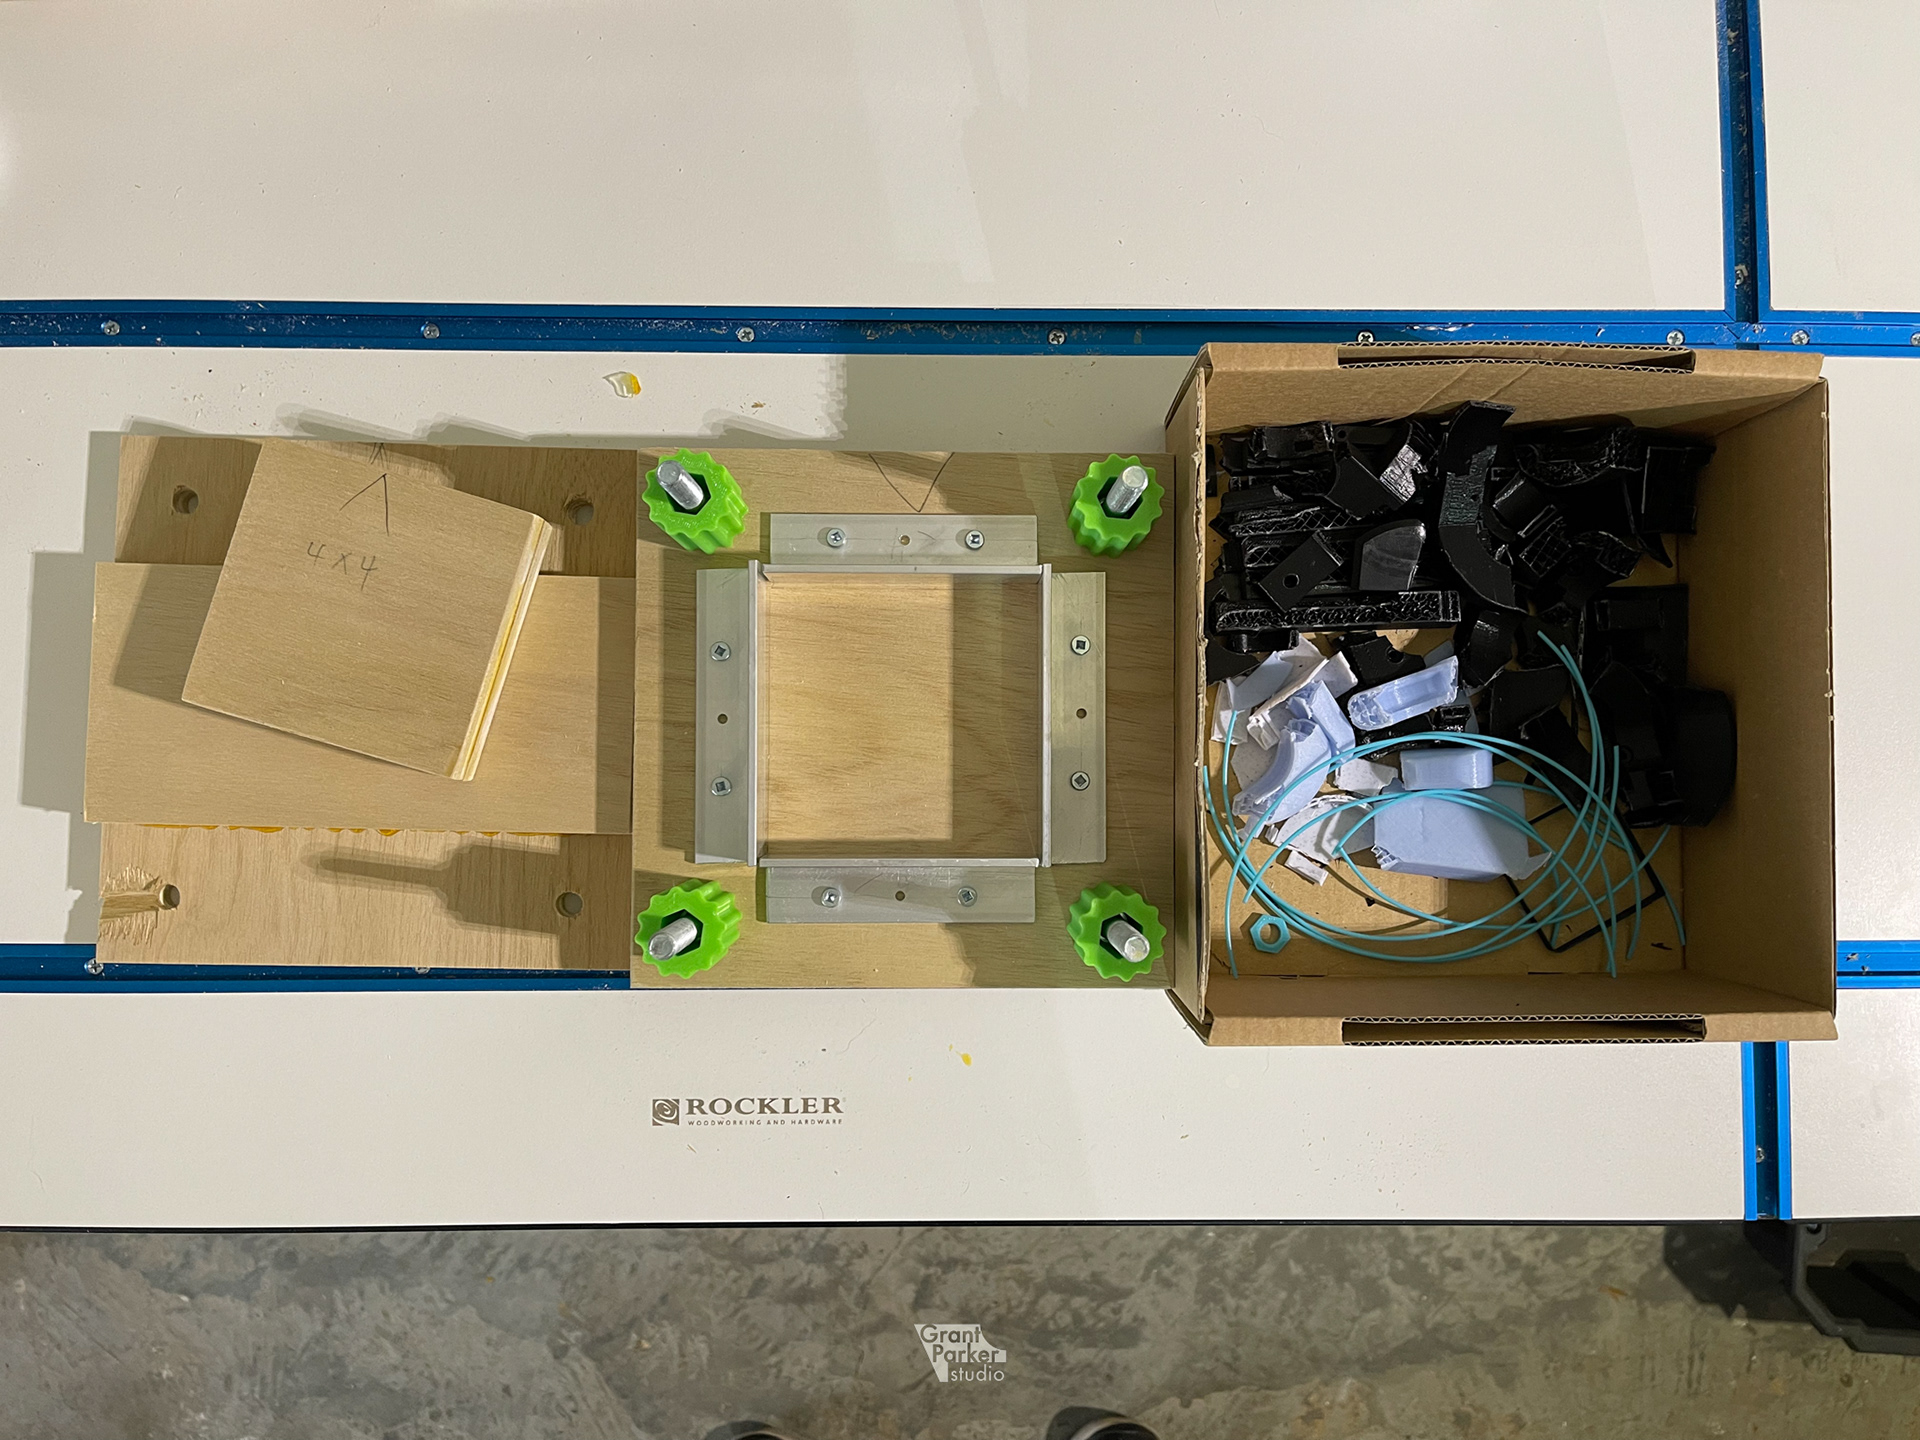
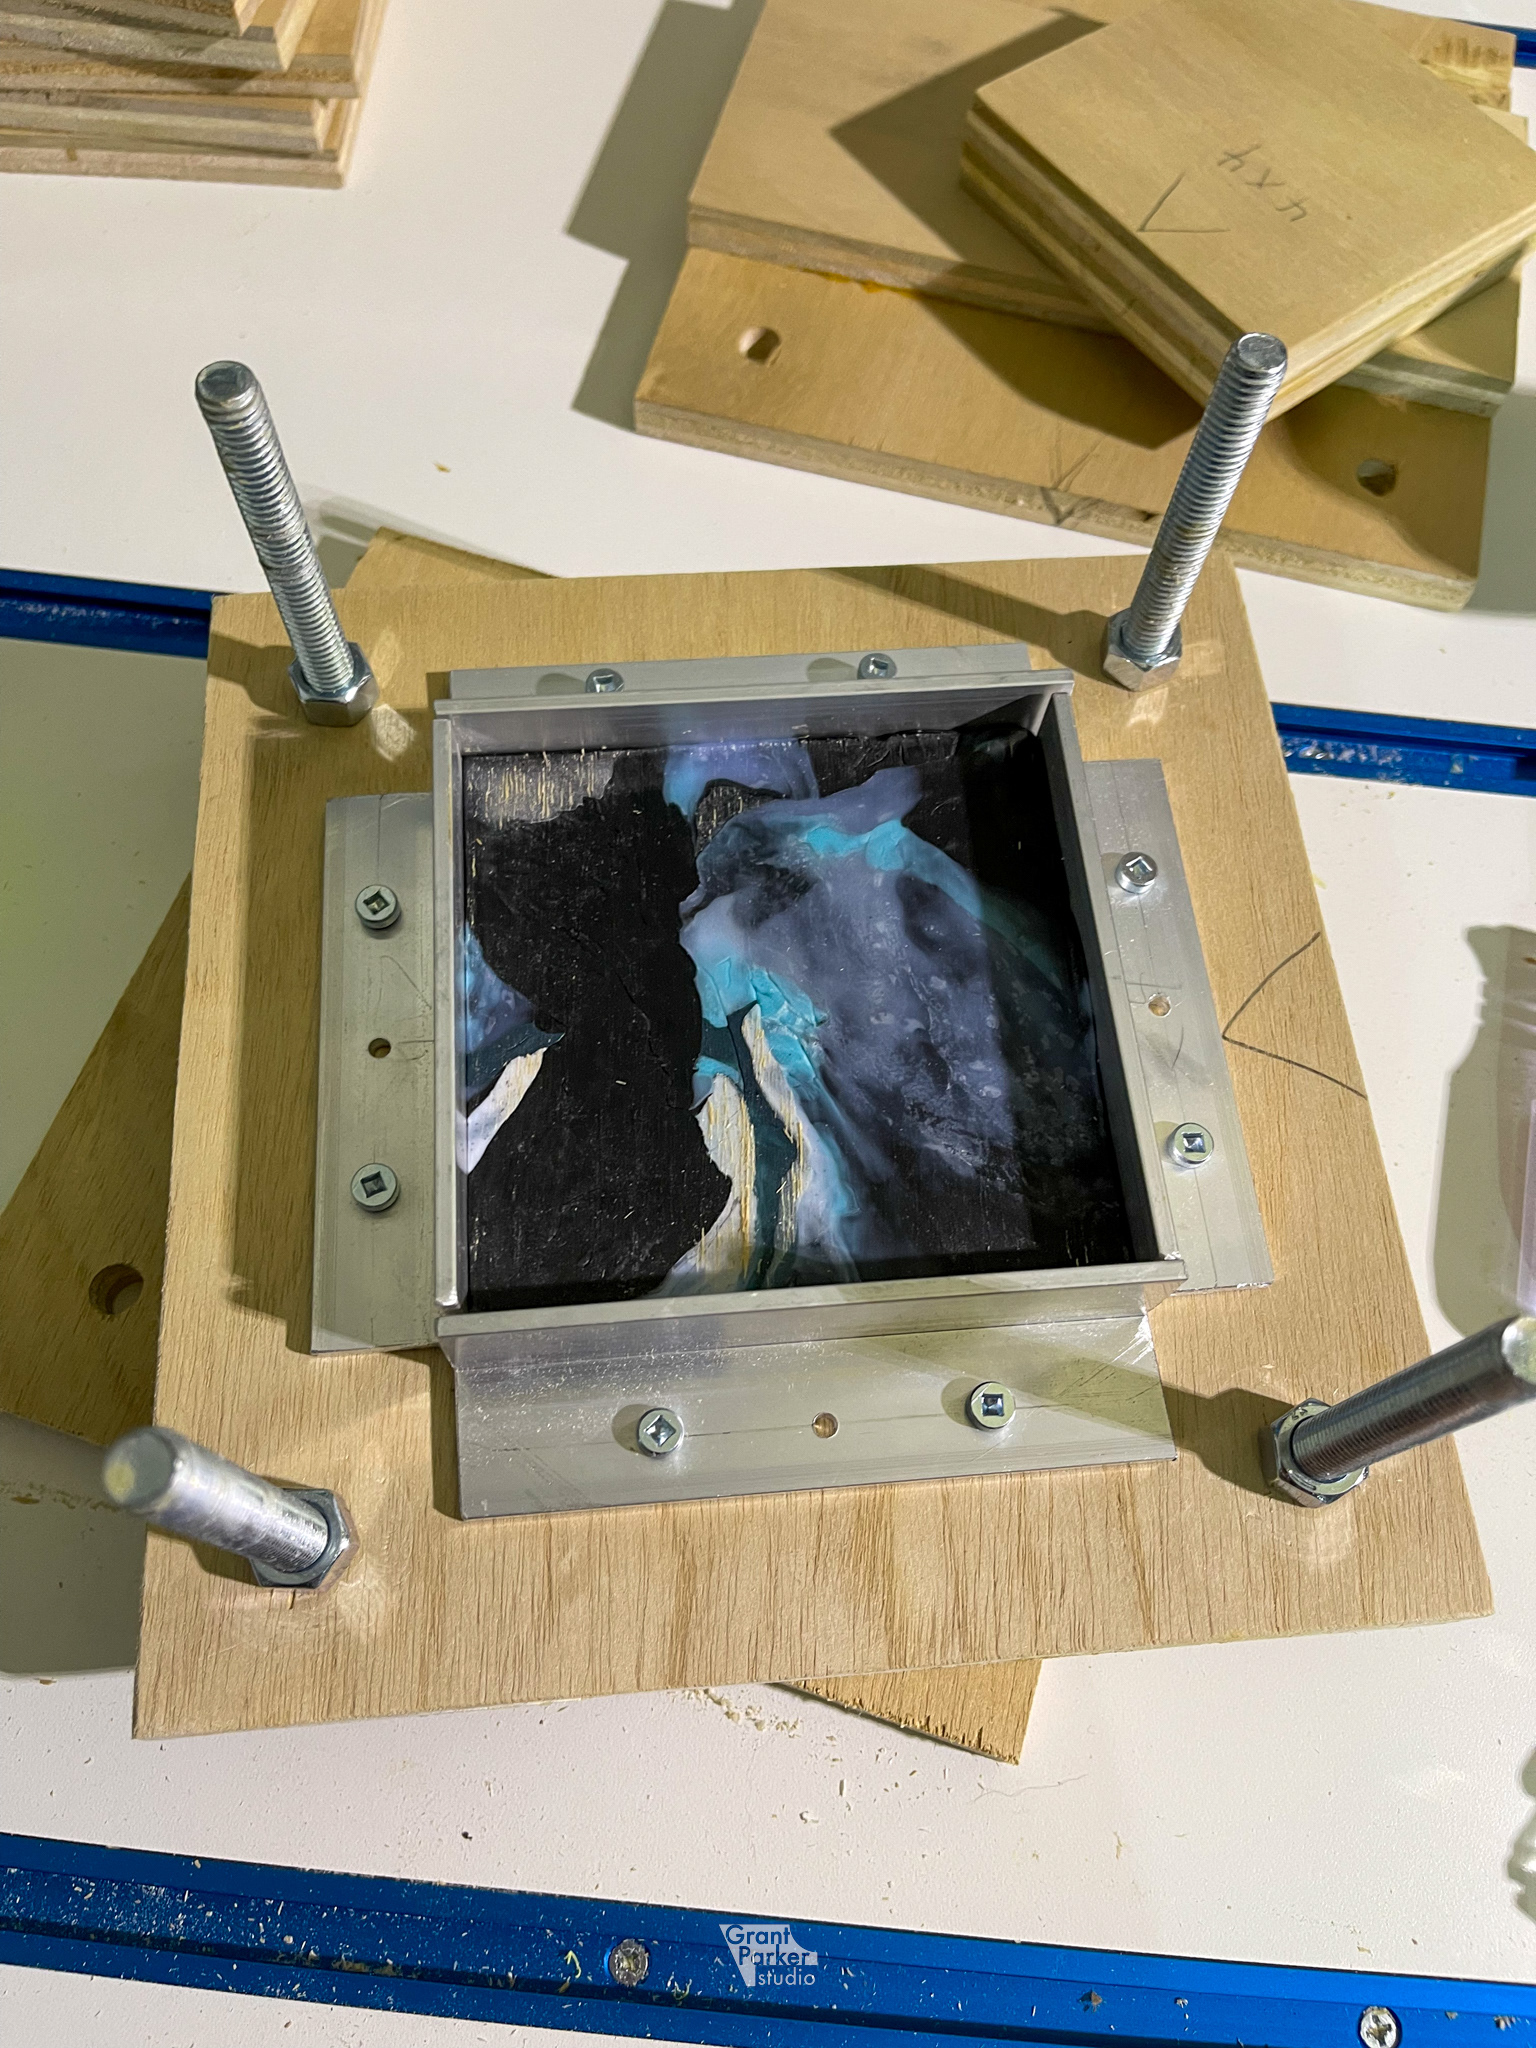
I decided on a smaller mold interior with dimensions of 4in by 4in or 10.16cm by 10.16cm. For the top and bottom surface of the mold I went with 1/2inch plywood this time over hardwood as it tends to maintain a flat surface. I cut the plywood to 8in square and glued two pieces together for both the top and bottom. For the sides of the mold I went with 1/8 inch thick aluminum angle that is 1 inch total depth. With the 1 inch depth, I hope to be able to make 1/2 to 3/4 blocks. I choose with the thicker aluminum in the hopes that it will maintain shape and not warp with the heat and clamping pressure. The other benefit is that these sides can be removed to help release the cooled part. The main press for this mold is a 4 inch by 4 inch square that is 1 inch thick. It is not attached to the top plate so that it can be changed out it out easily in the future. I also added alignment bolts to the four corners of the mold. In addition to alignment, the bolts hold 3d printed spacers in place that add a max depth for the compression and help keep the part depth consistent and level when pressed.
Melt
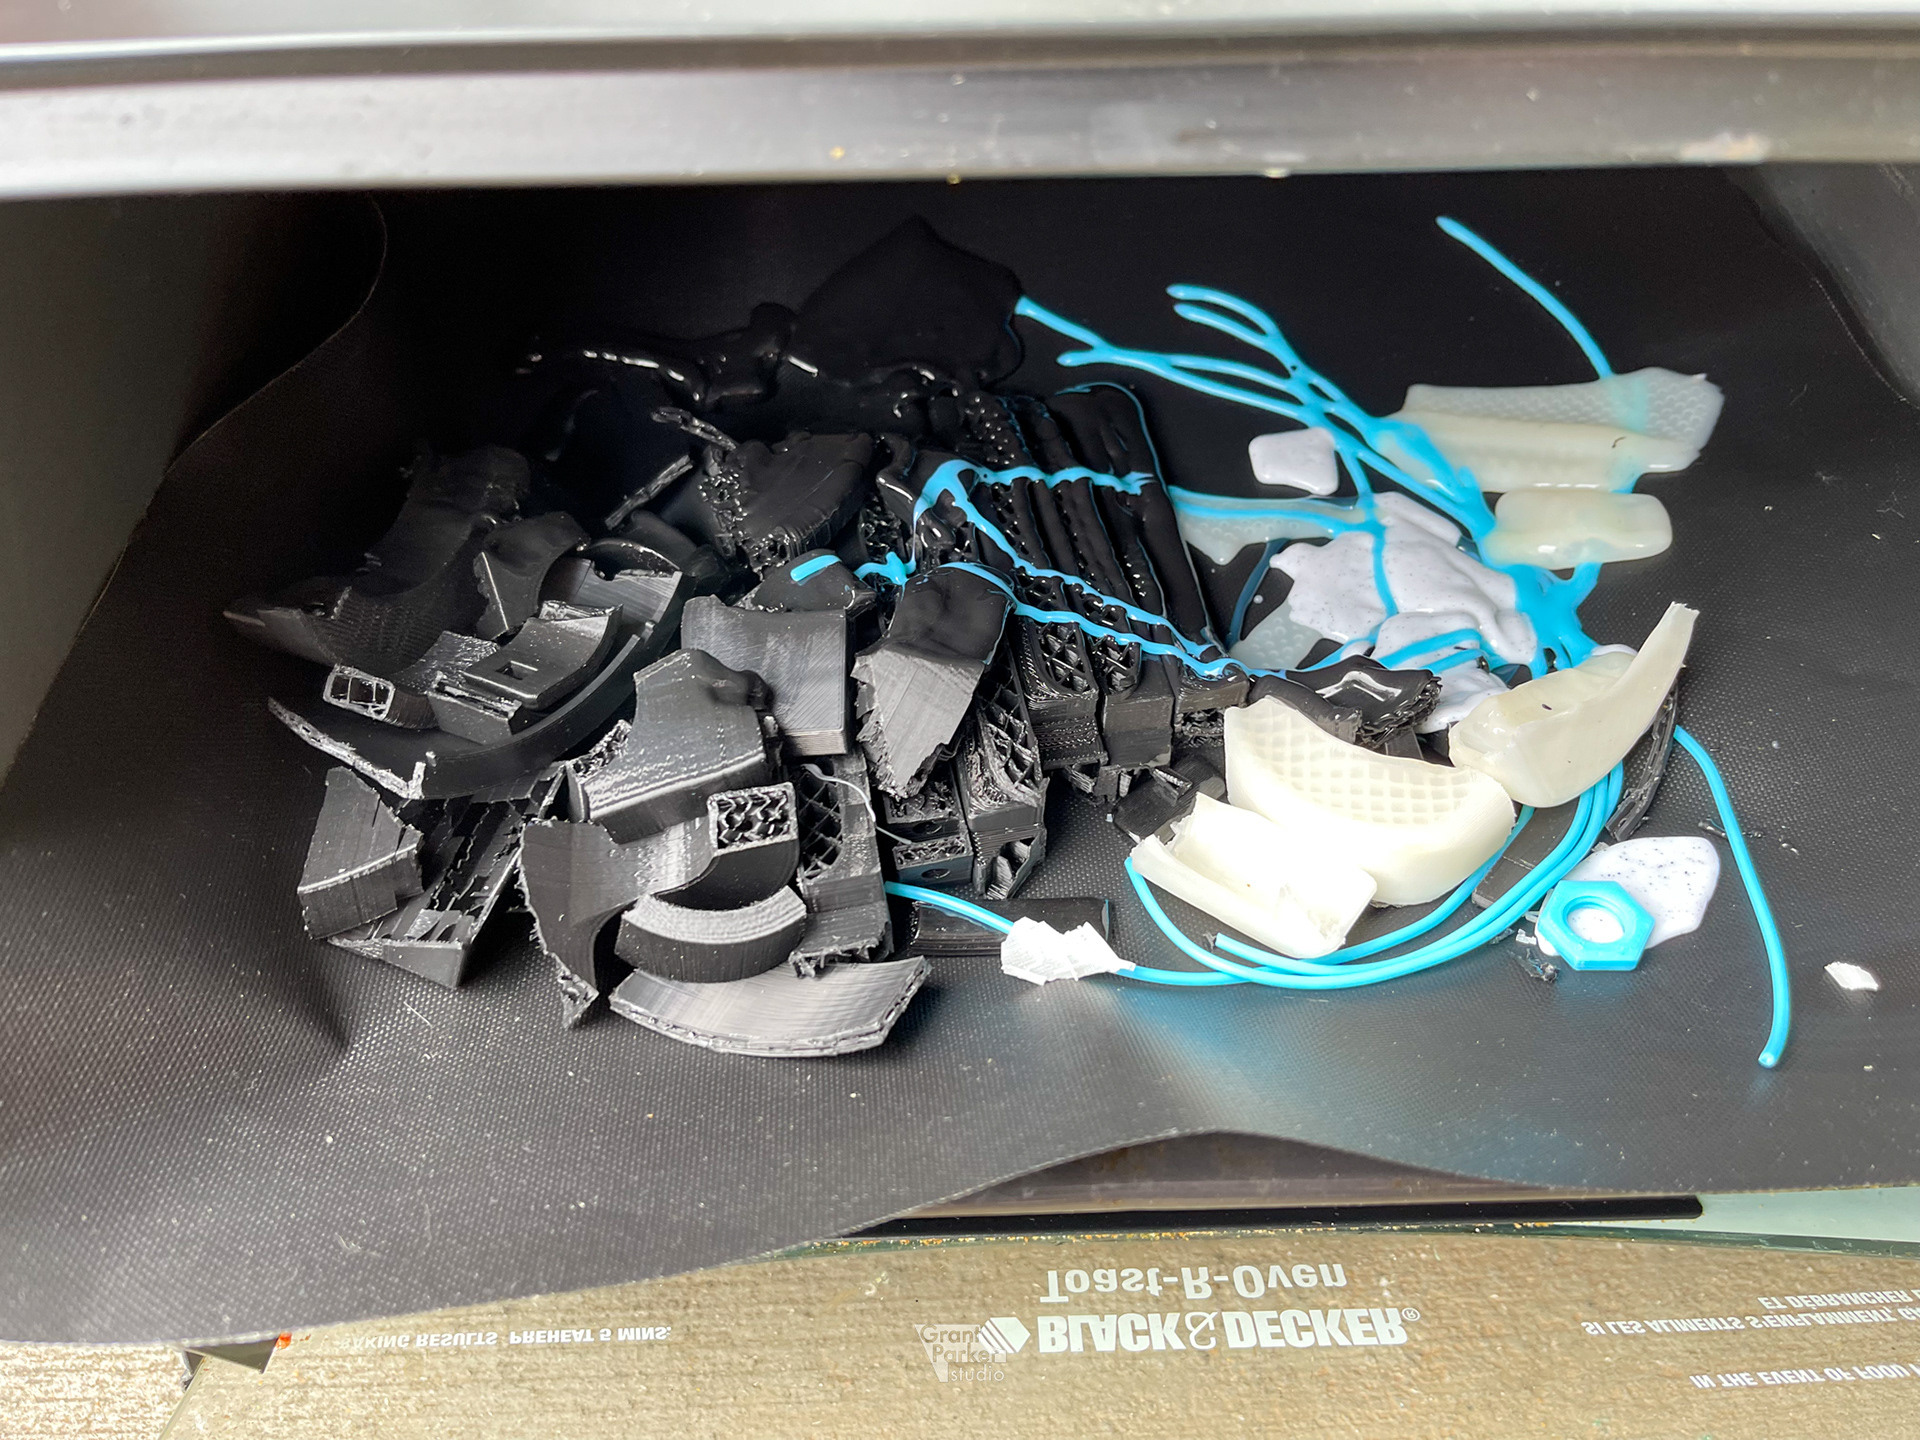
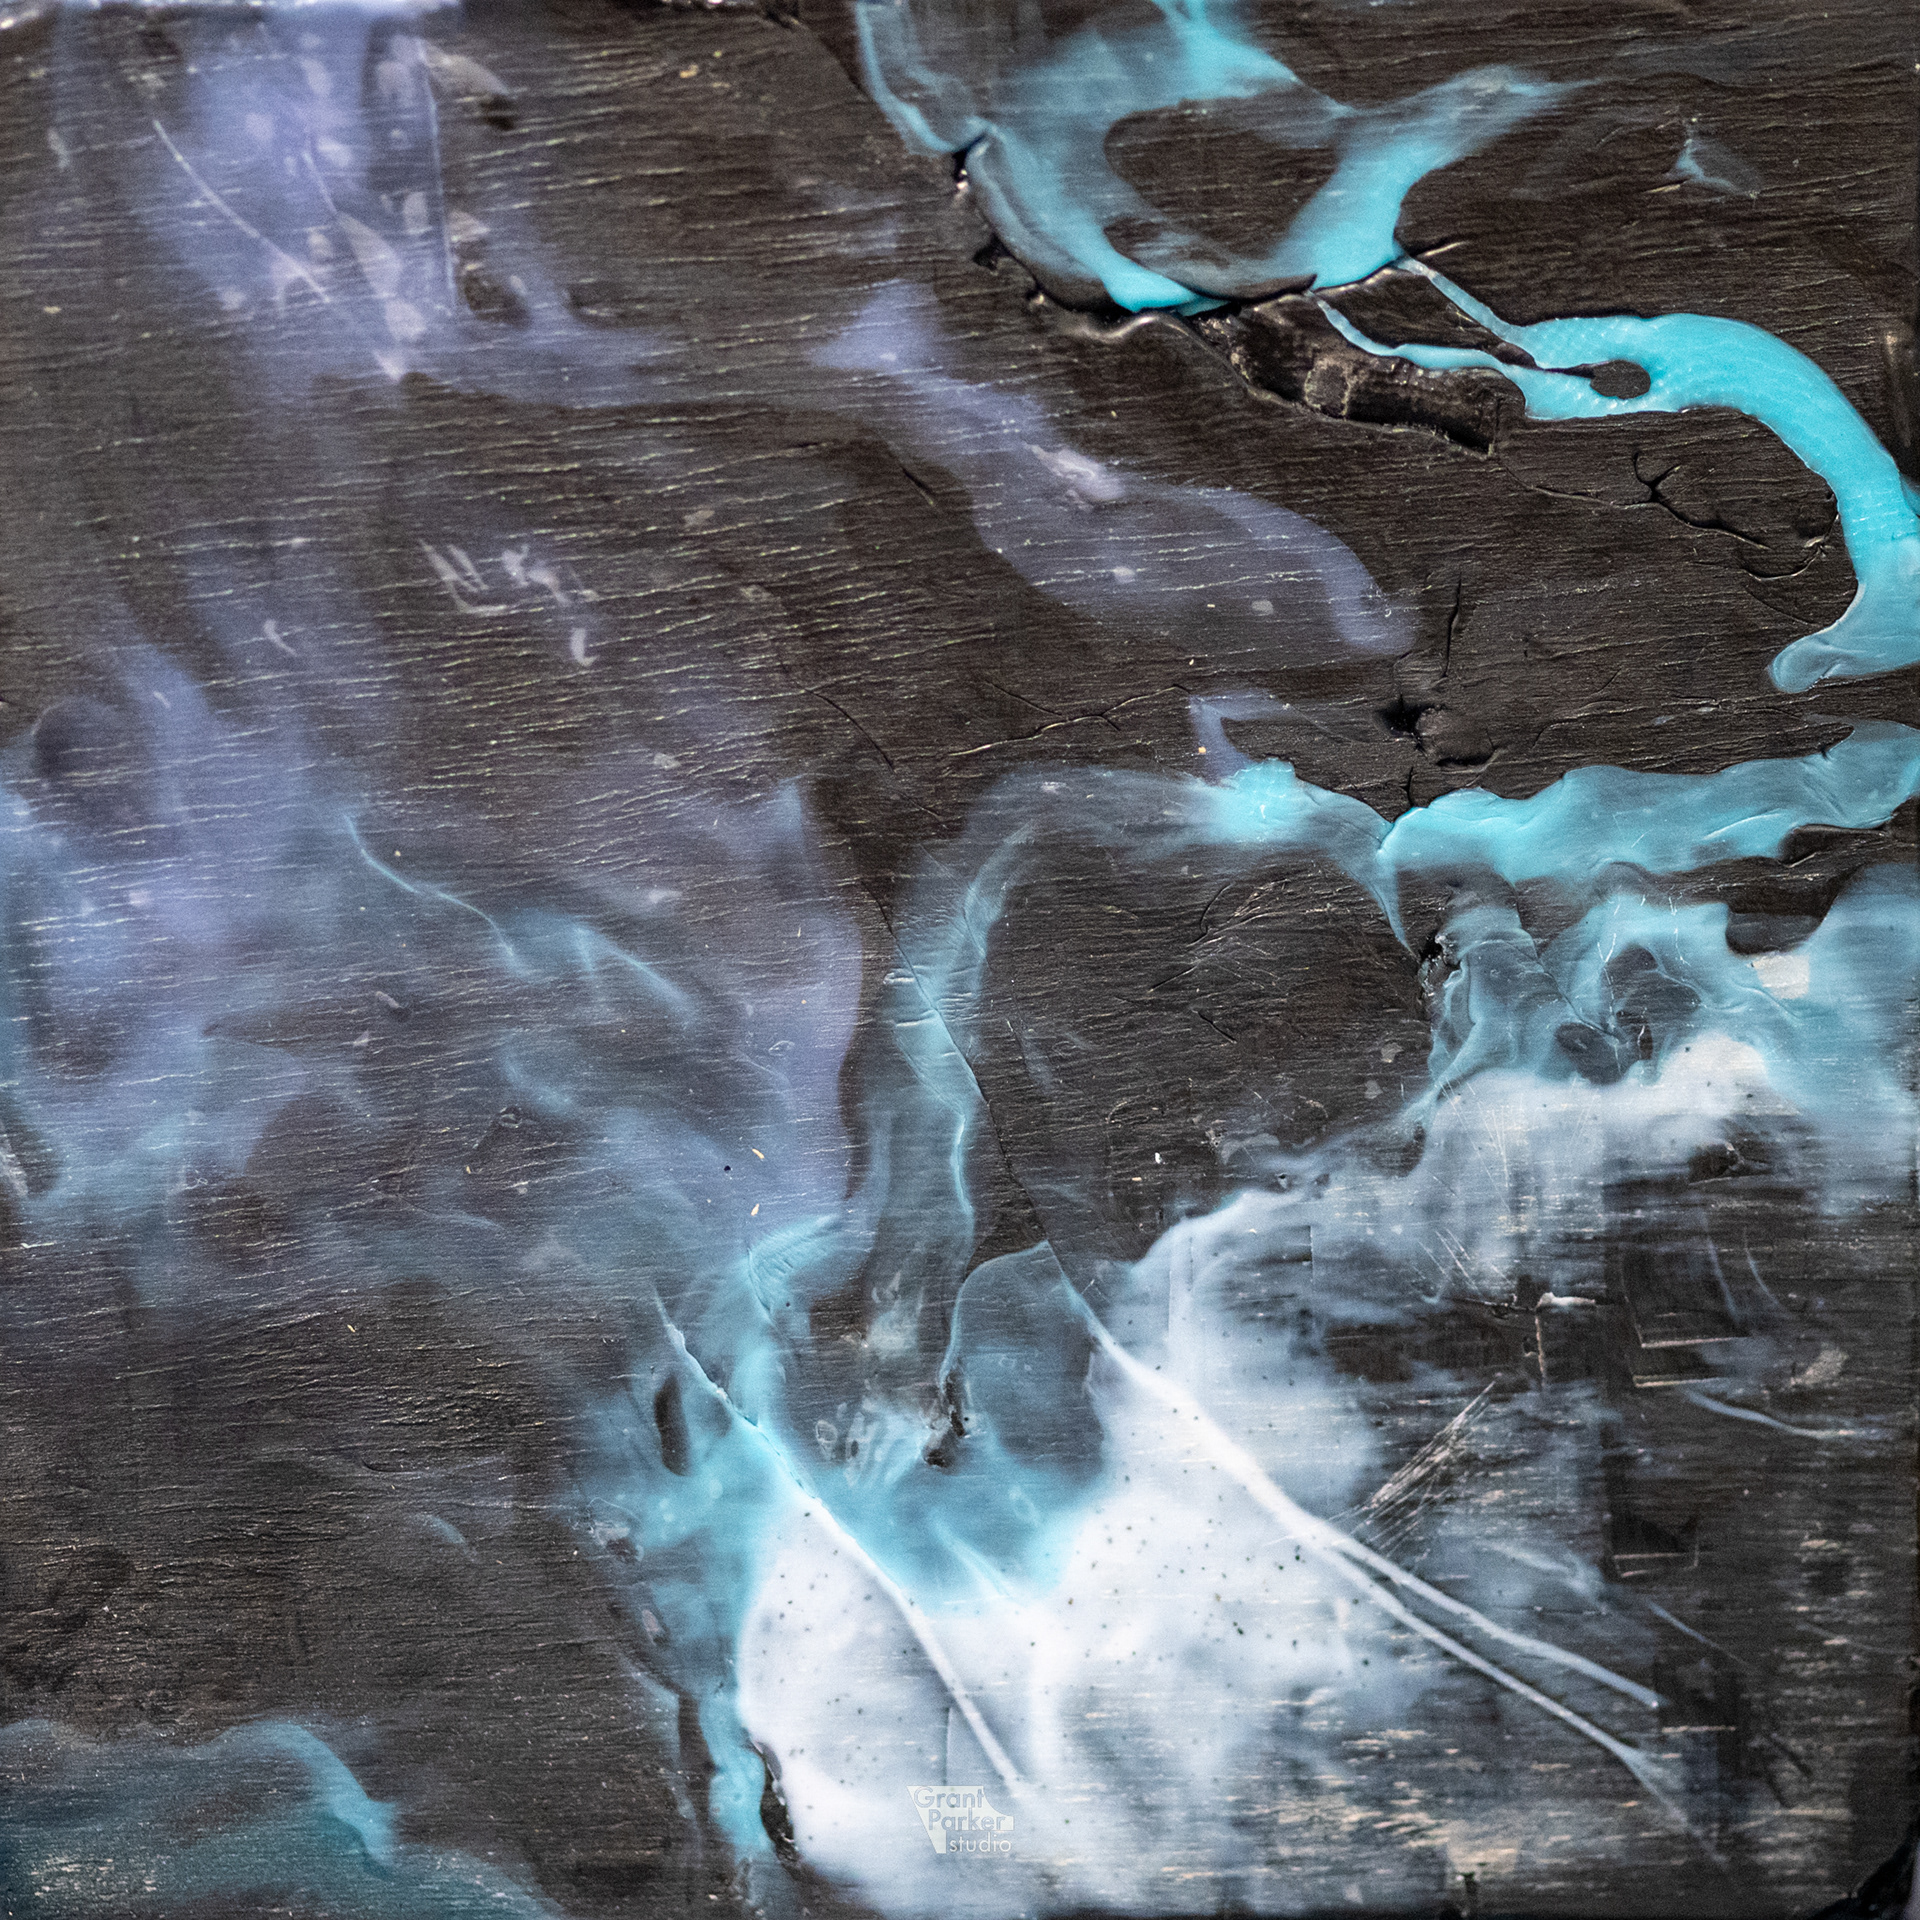
I decided on a a 1/2 inch thick part this time. With the volume calculated from the interior mold dimensions, I calculated that I would need 163g of PLA based on a mold volume in cm3 x the density of PLA in g/cm3. 131.1cm3x 1.24 g/cm3 = 162.6g I bumped it up to 170g. The PLA color combination for this one is black, gentleman’s gray, marble, light blue, and temperature color change blue to white. The melt went ok on this one but could have been better. During the melting process I am noticed there are air pockets between the plastic and the pan that result in the part not melting through in some cases.
Press
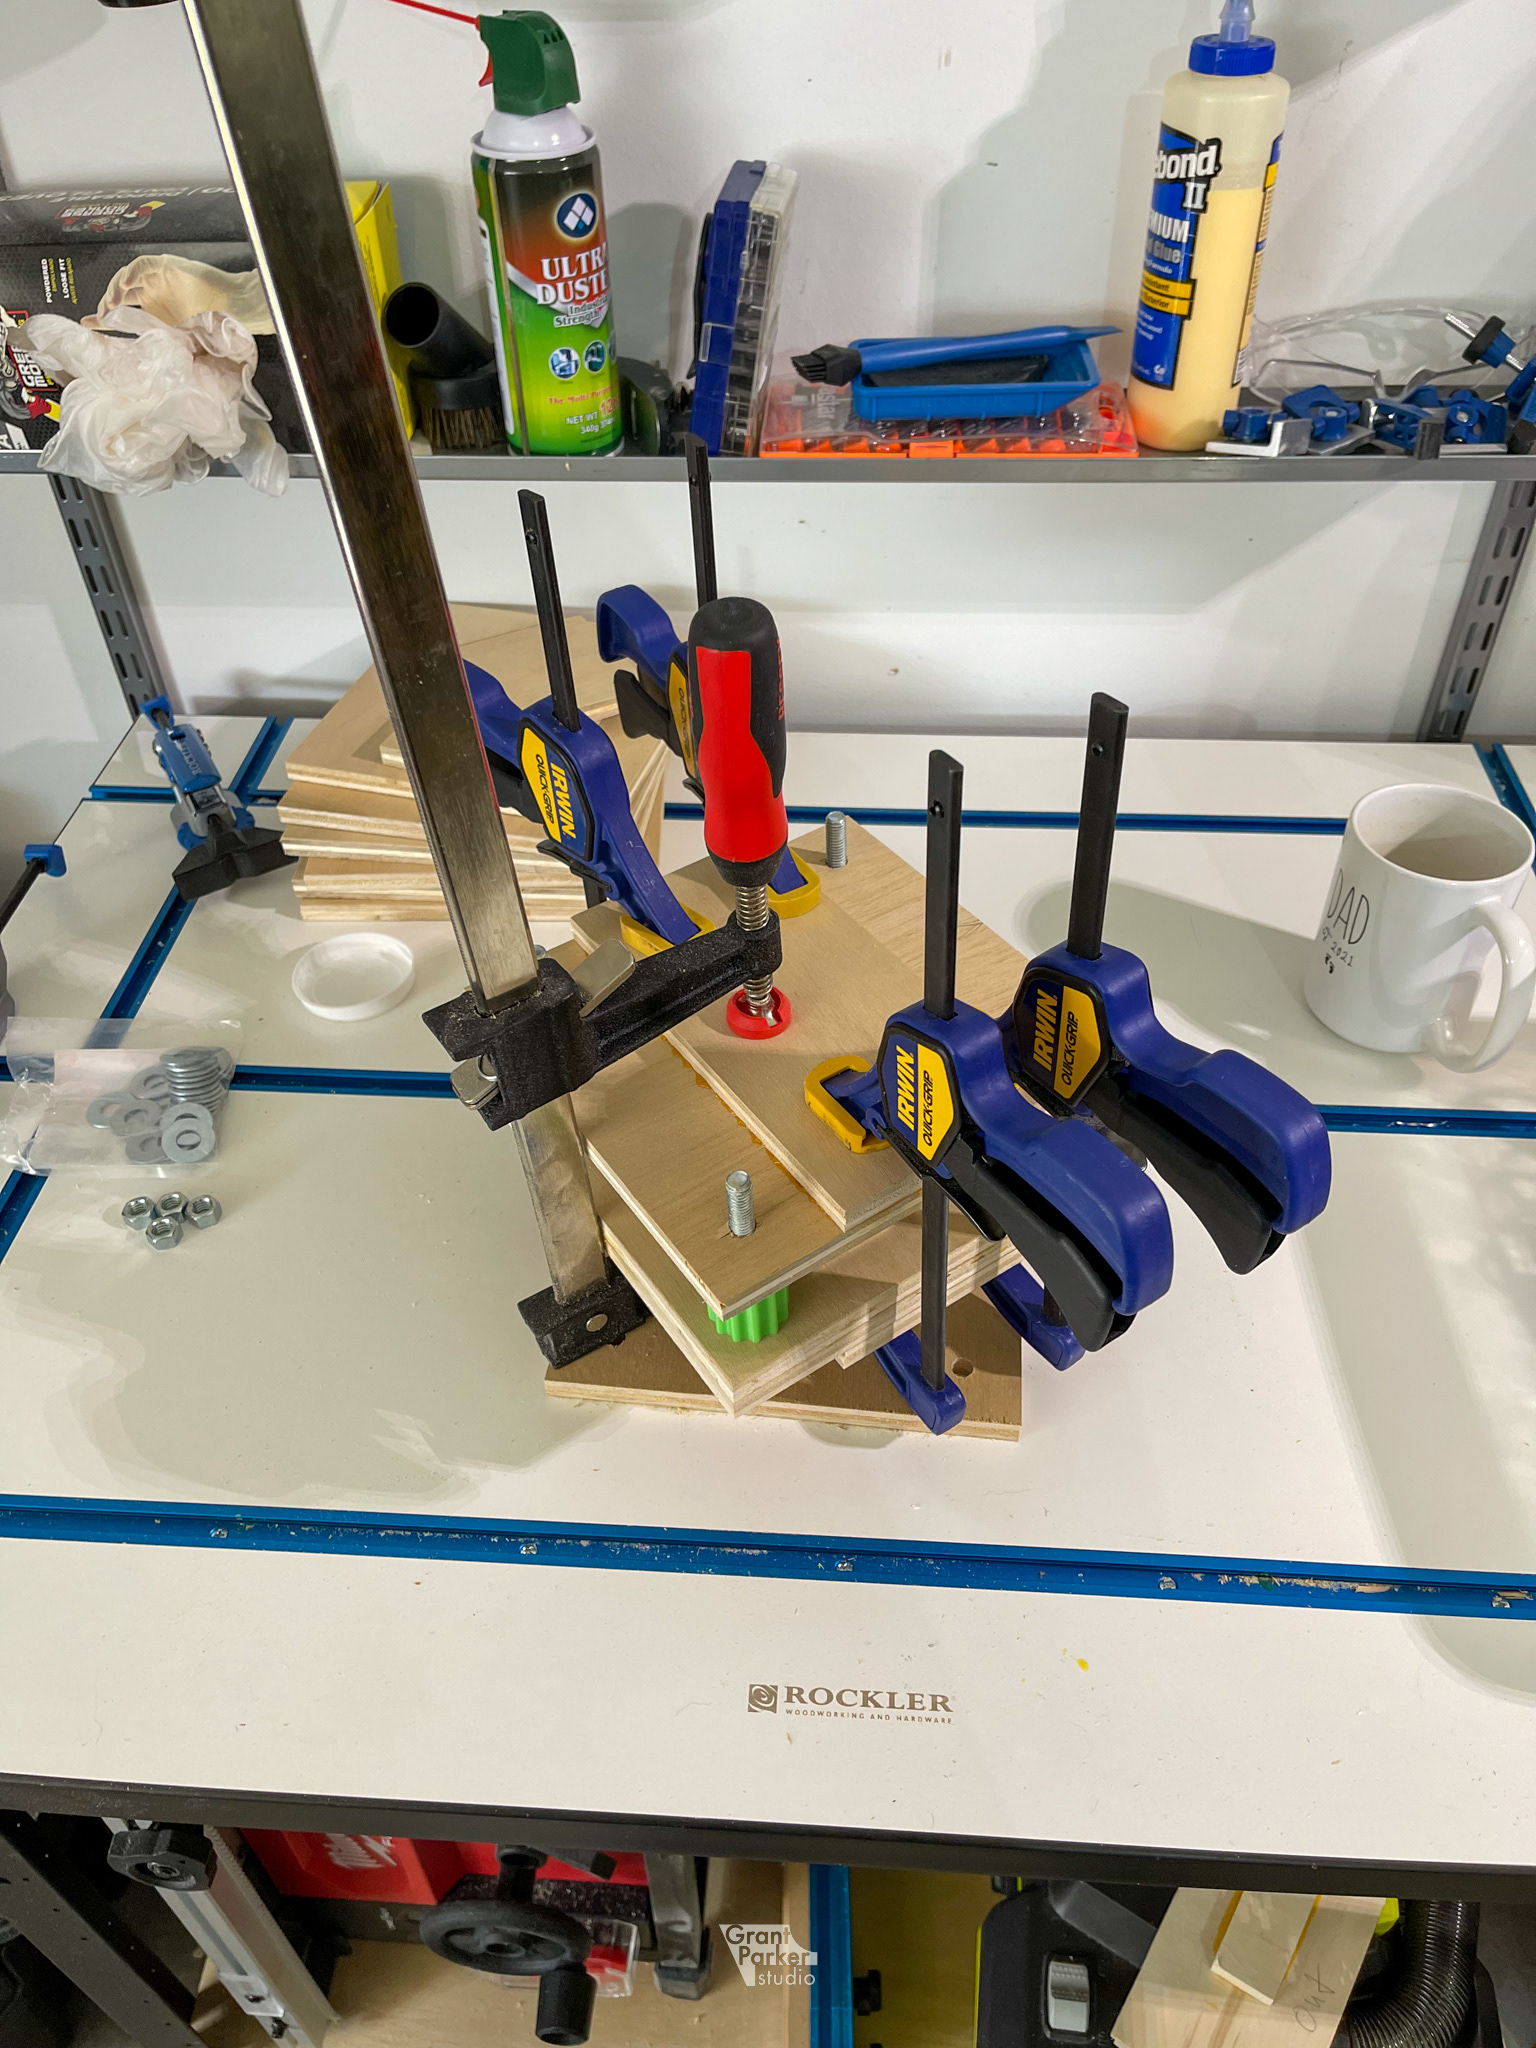
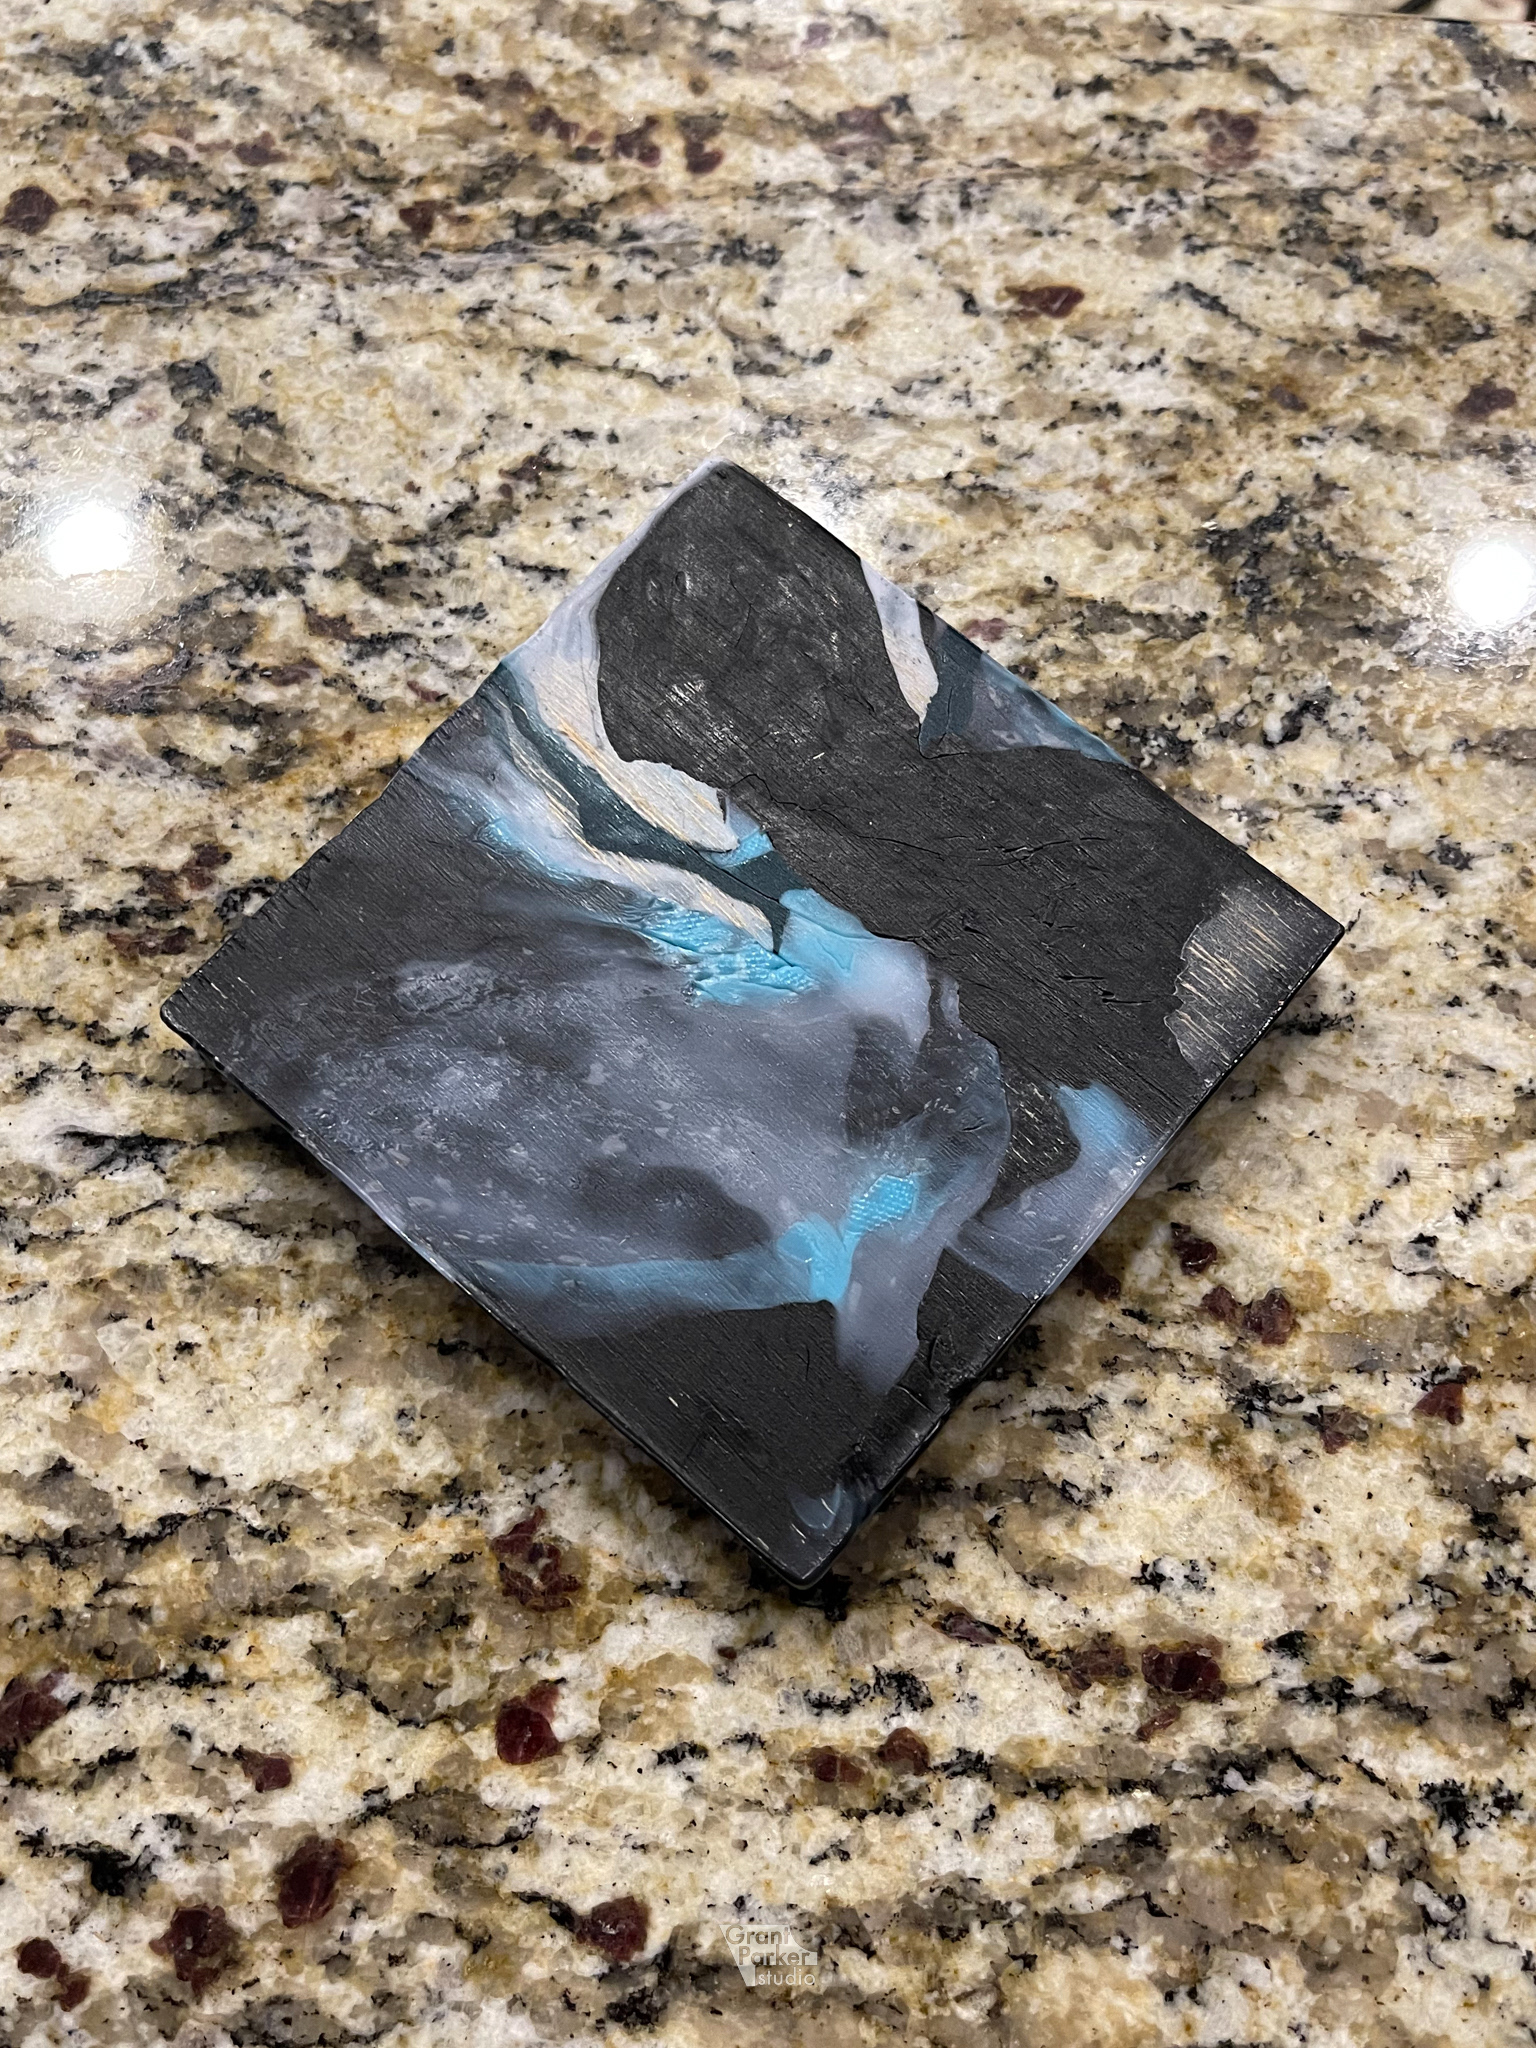
Once the plastic had melted I worked quickly to get the plastic into the mold and clamped down. That went smoothly this time around and the spacers really helped to keep the top and bottom in parallel. I let the part cool for about 4 hours before releasing any of the clamping pressure. Unfortunately after opening the mold, I found that pieces of the wood stuck to the part. This revealed an opportunity to work on the finishing process.
Finish
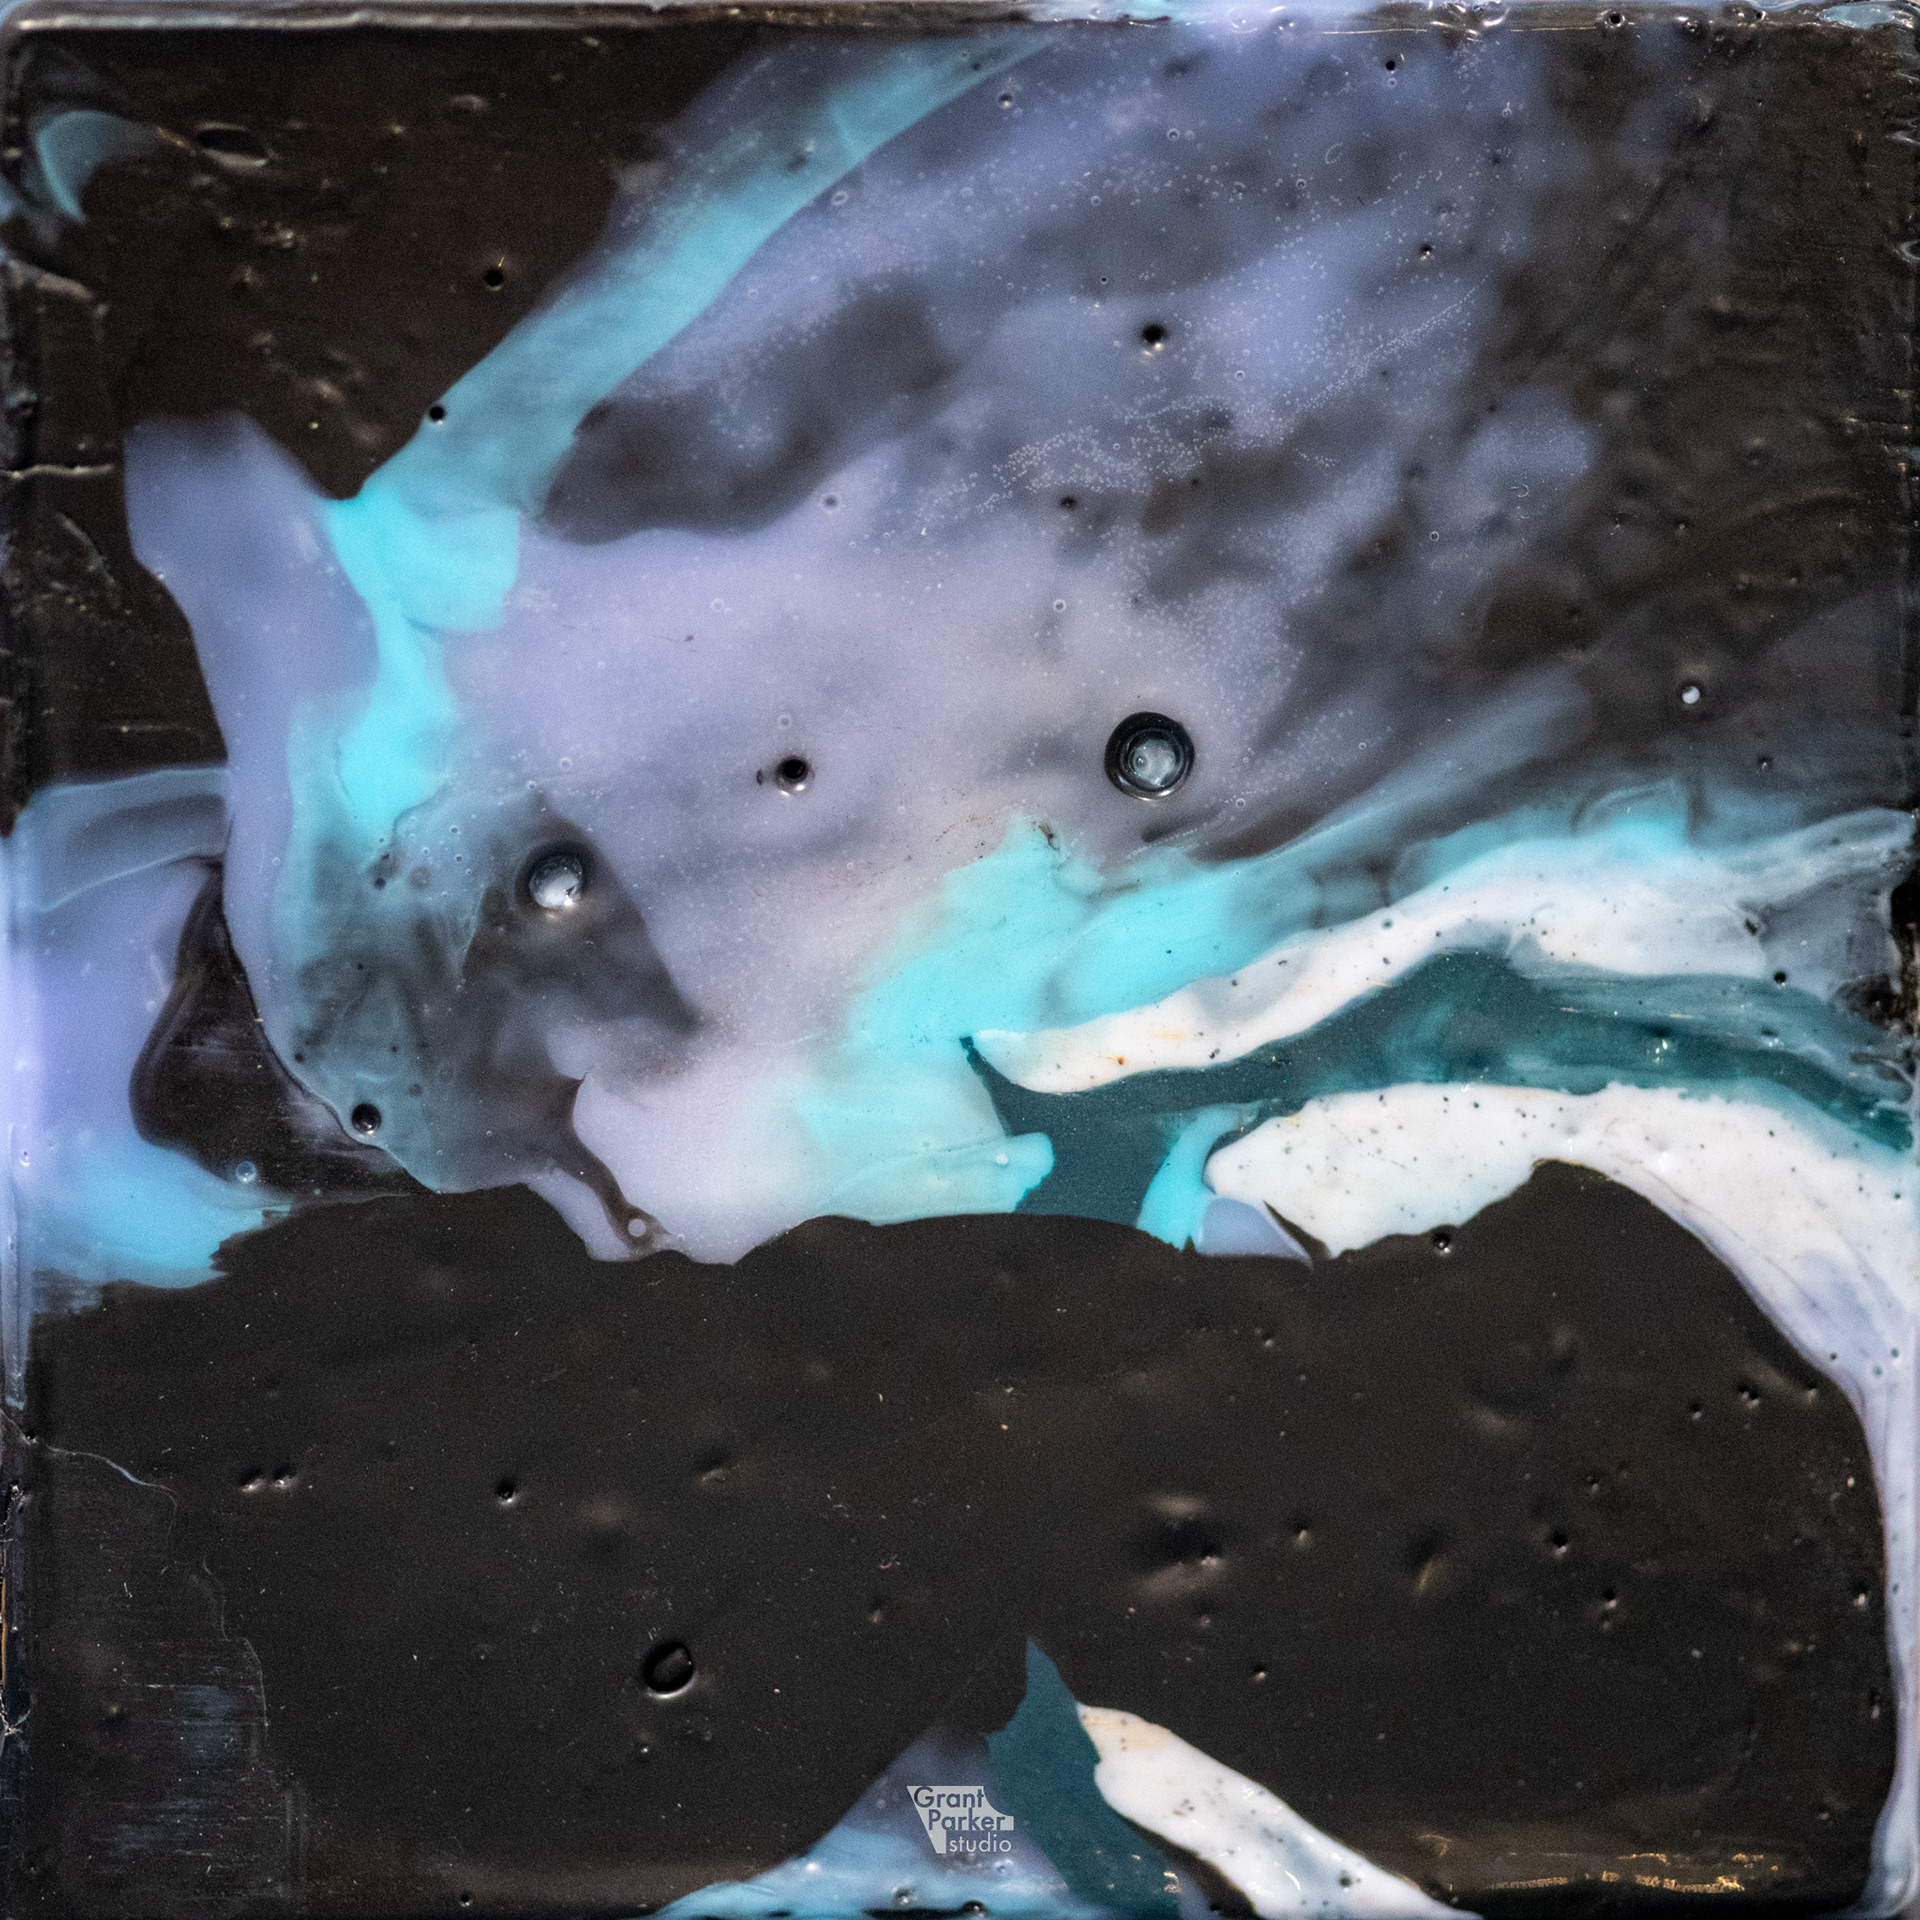
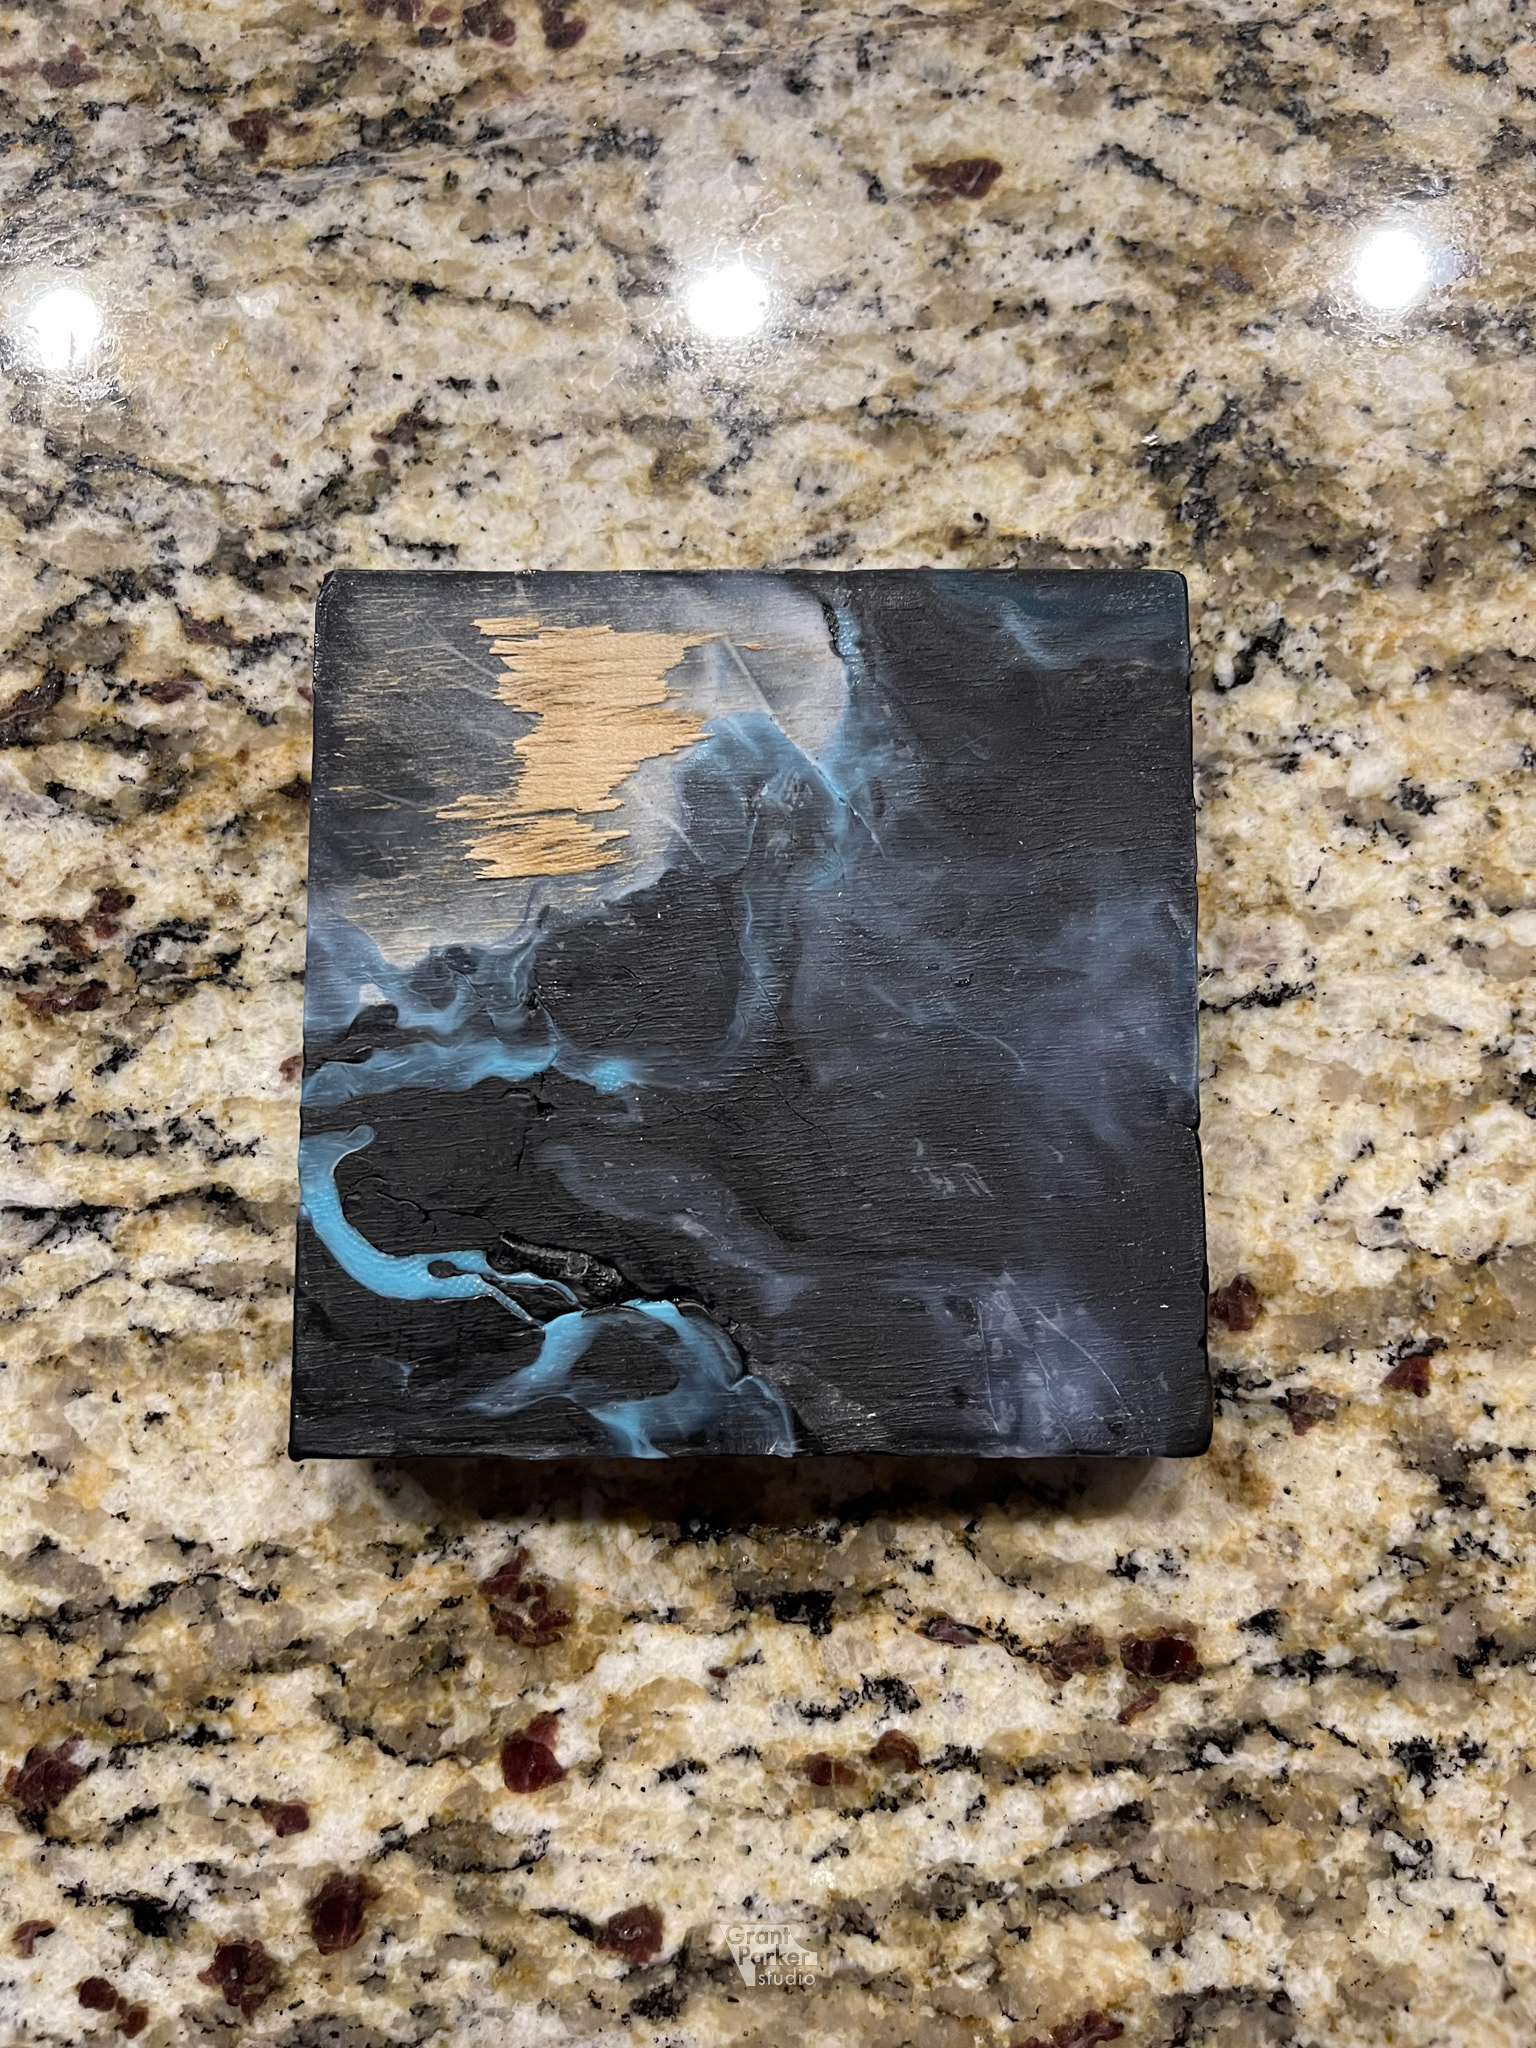
I used a chisel and small hand plan to remove the squeeze out and wood from the part. That worked well for removing the wood and large sections of plastic. I then tried to sand the part to remove the wood grain pressed into the plastic. I was not happy with the results I was getting from sanding so I decided to heat polish one of the faces. This was done with a heat gun and worked quite well but had the side effect of releasing the bubbles still trapped under the surface. So now there are some craters on that side of the part.
Next time
Cut the printed parts smaller
Orient the plastic parts so that air can escape more easily as the parts melt
Add sheets of steel to each side to help keep the mold flat and smooth
Heat the metal parts of the mold
Reach out on my contact page if you are up to collaborate or have any thoughts to share. Thanks for reading and good luck with what you create!