
Process Changes
I am using the same mold from part 3 but have added a piece of steel to the bottom of the mold and added heating the mold to the process. I would love to say that I planned to only have one. The reality is that I was melting plastic and trying to cut both plates out at the same time. It took too long to get the piece I cut square enough to fit in the mold before the plastic was ready to press. The steel piece is still not perfect but fit well on the bottom of the mold. The other major process addition this time was that I heated the metal pieces of the mold with a heat gun. To do this I used some clamps to hold the heat gun upside down and pointed at the mold. A word of caution: do not touch the metal that the heat gun has been blowing on for a while. If the heat gun is blowing on high the metal is hot no need to touch it to test it…
Results
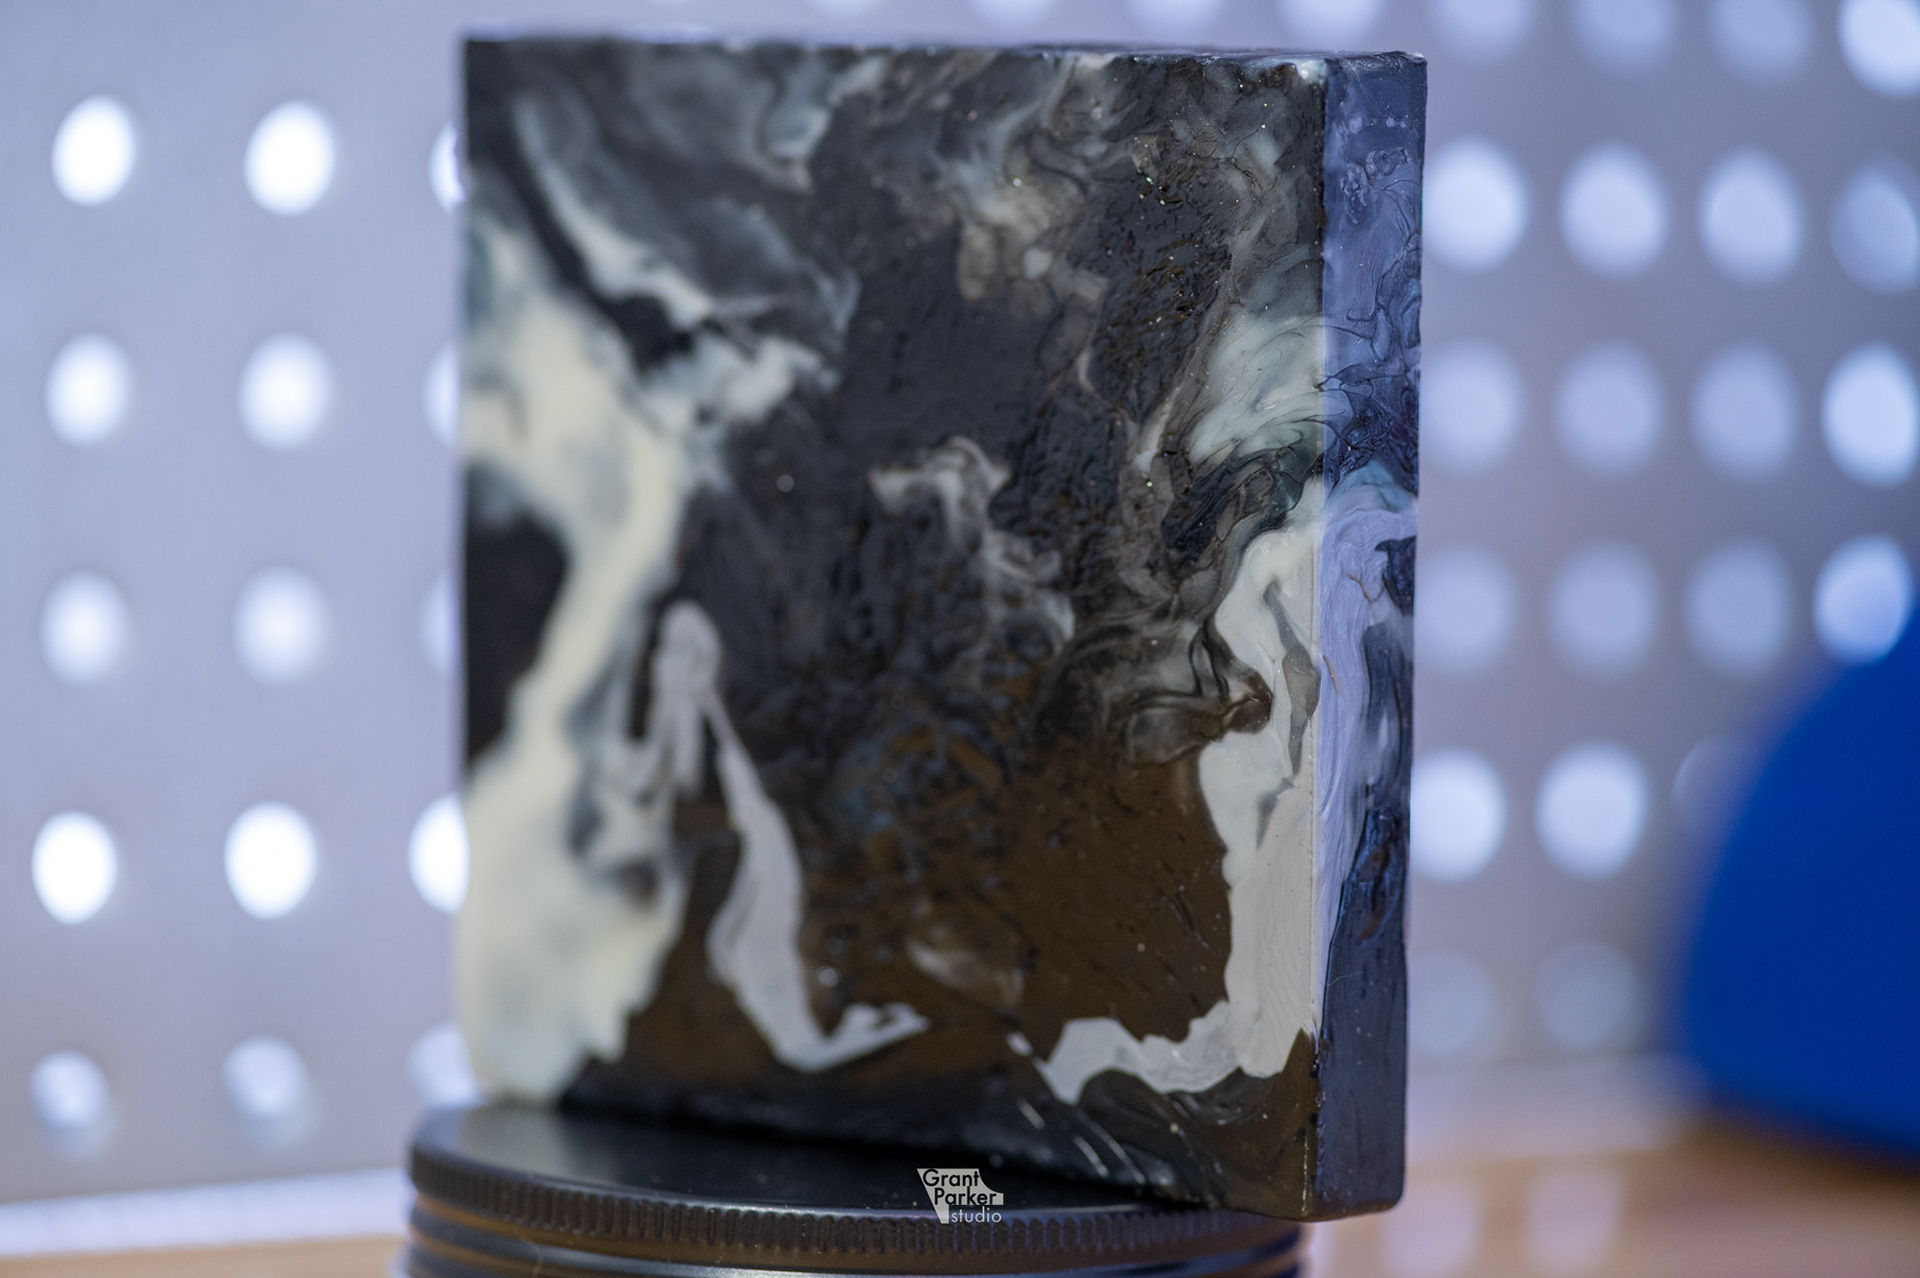
Heating the mold made the plastic faces touching metal significantly smoother.
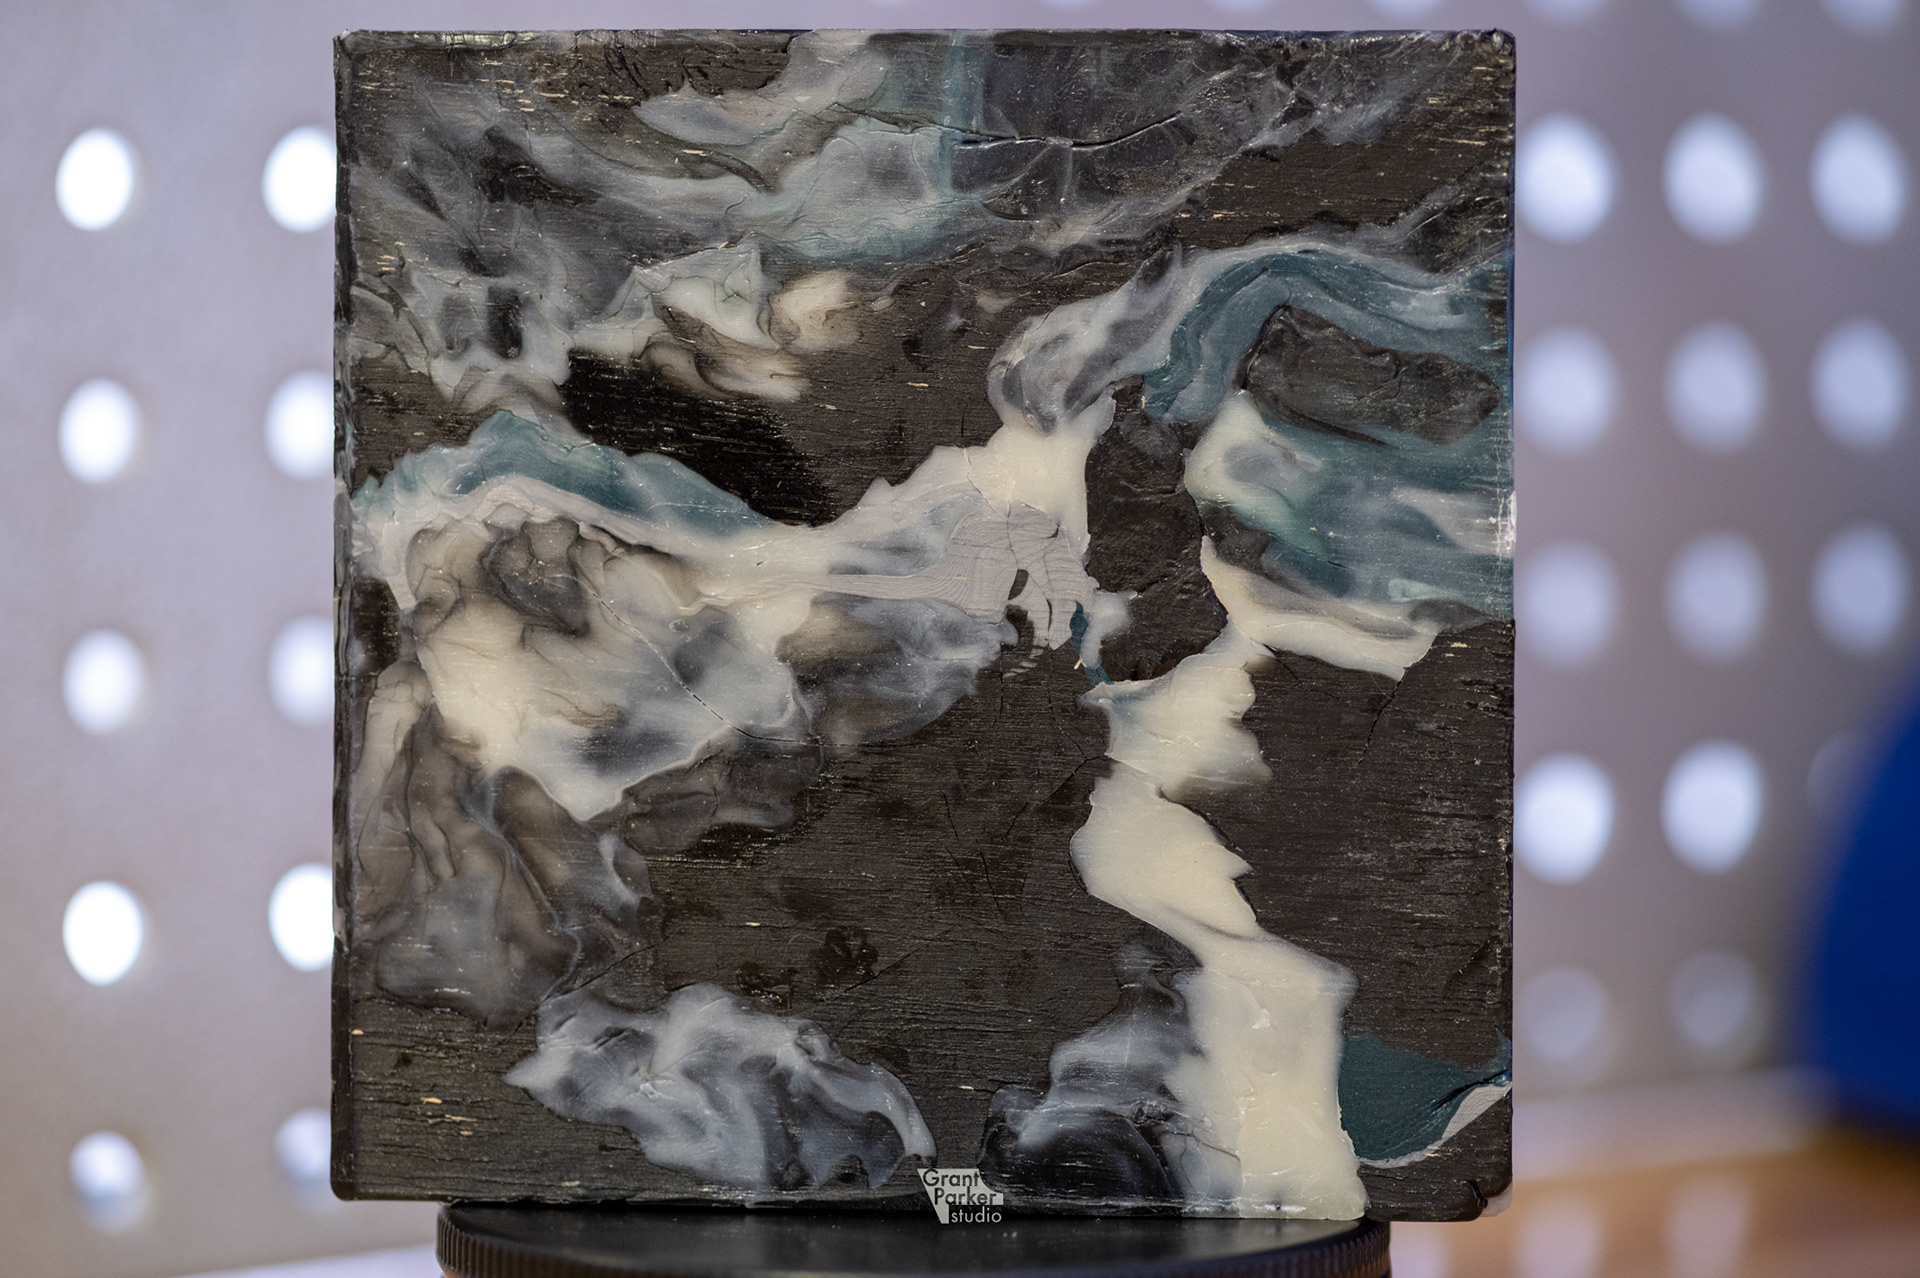
Crack on the wood side, hypotheses is that the two sides either cooled at different rates or that the formula for the glow PLA introduced unexpected properties.
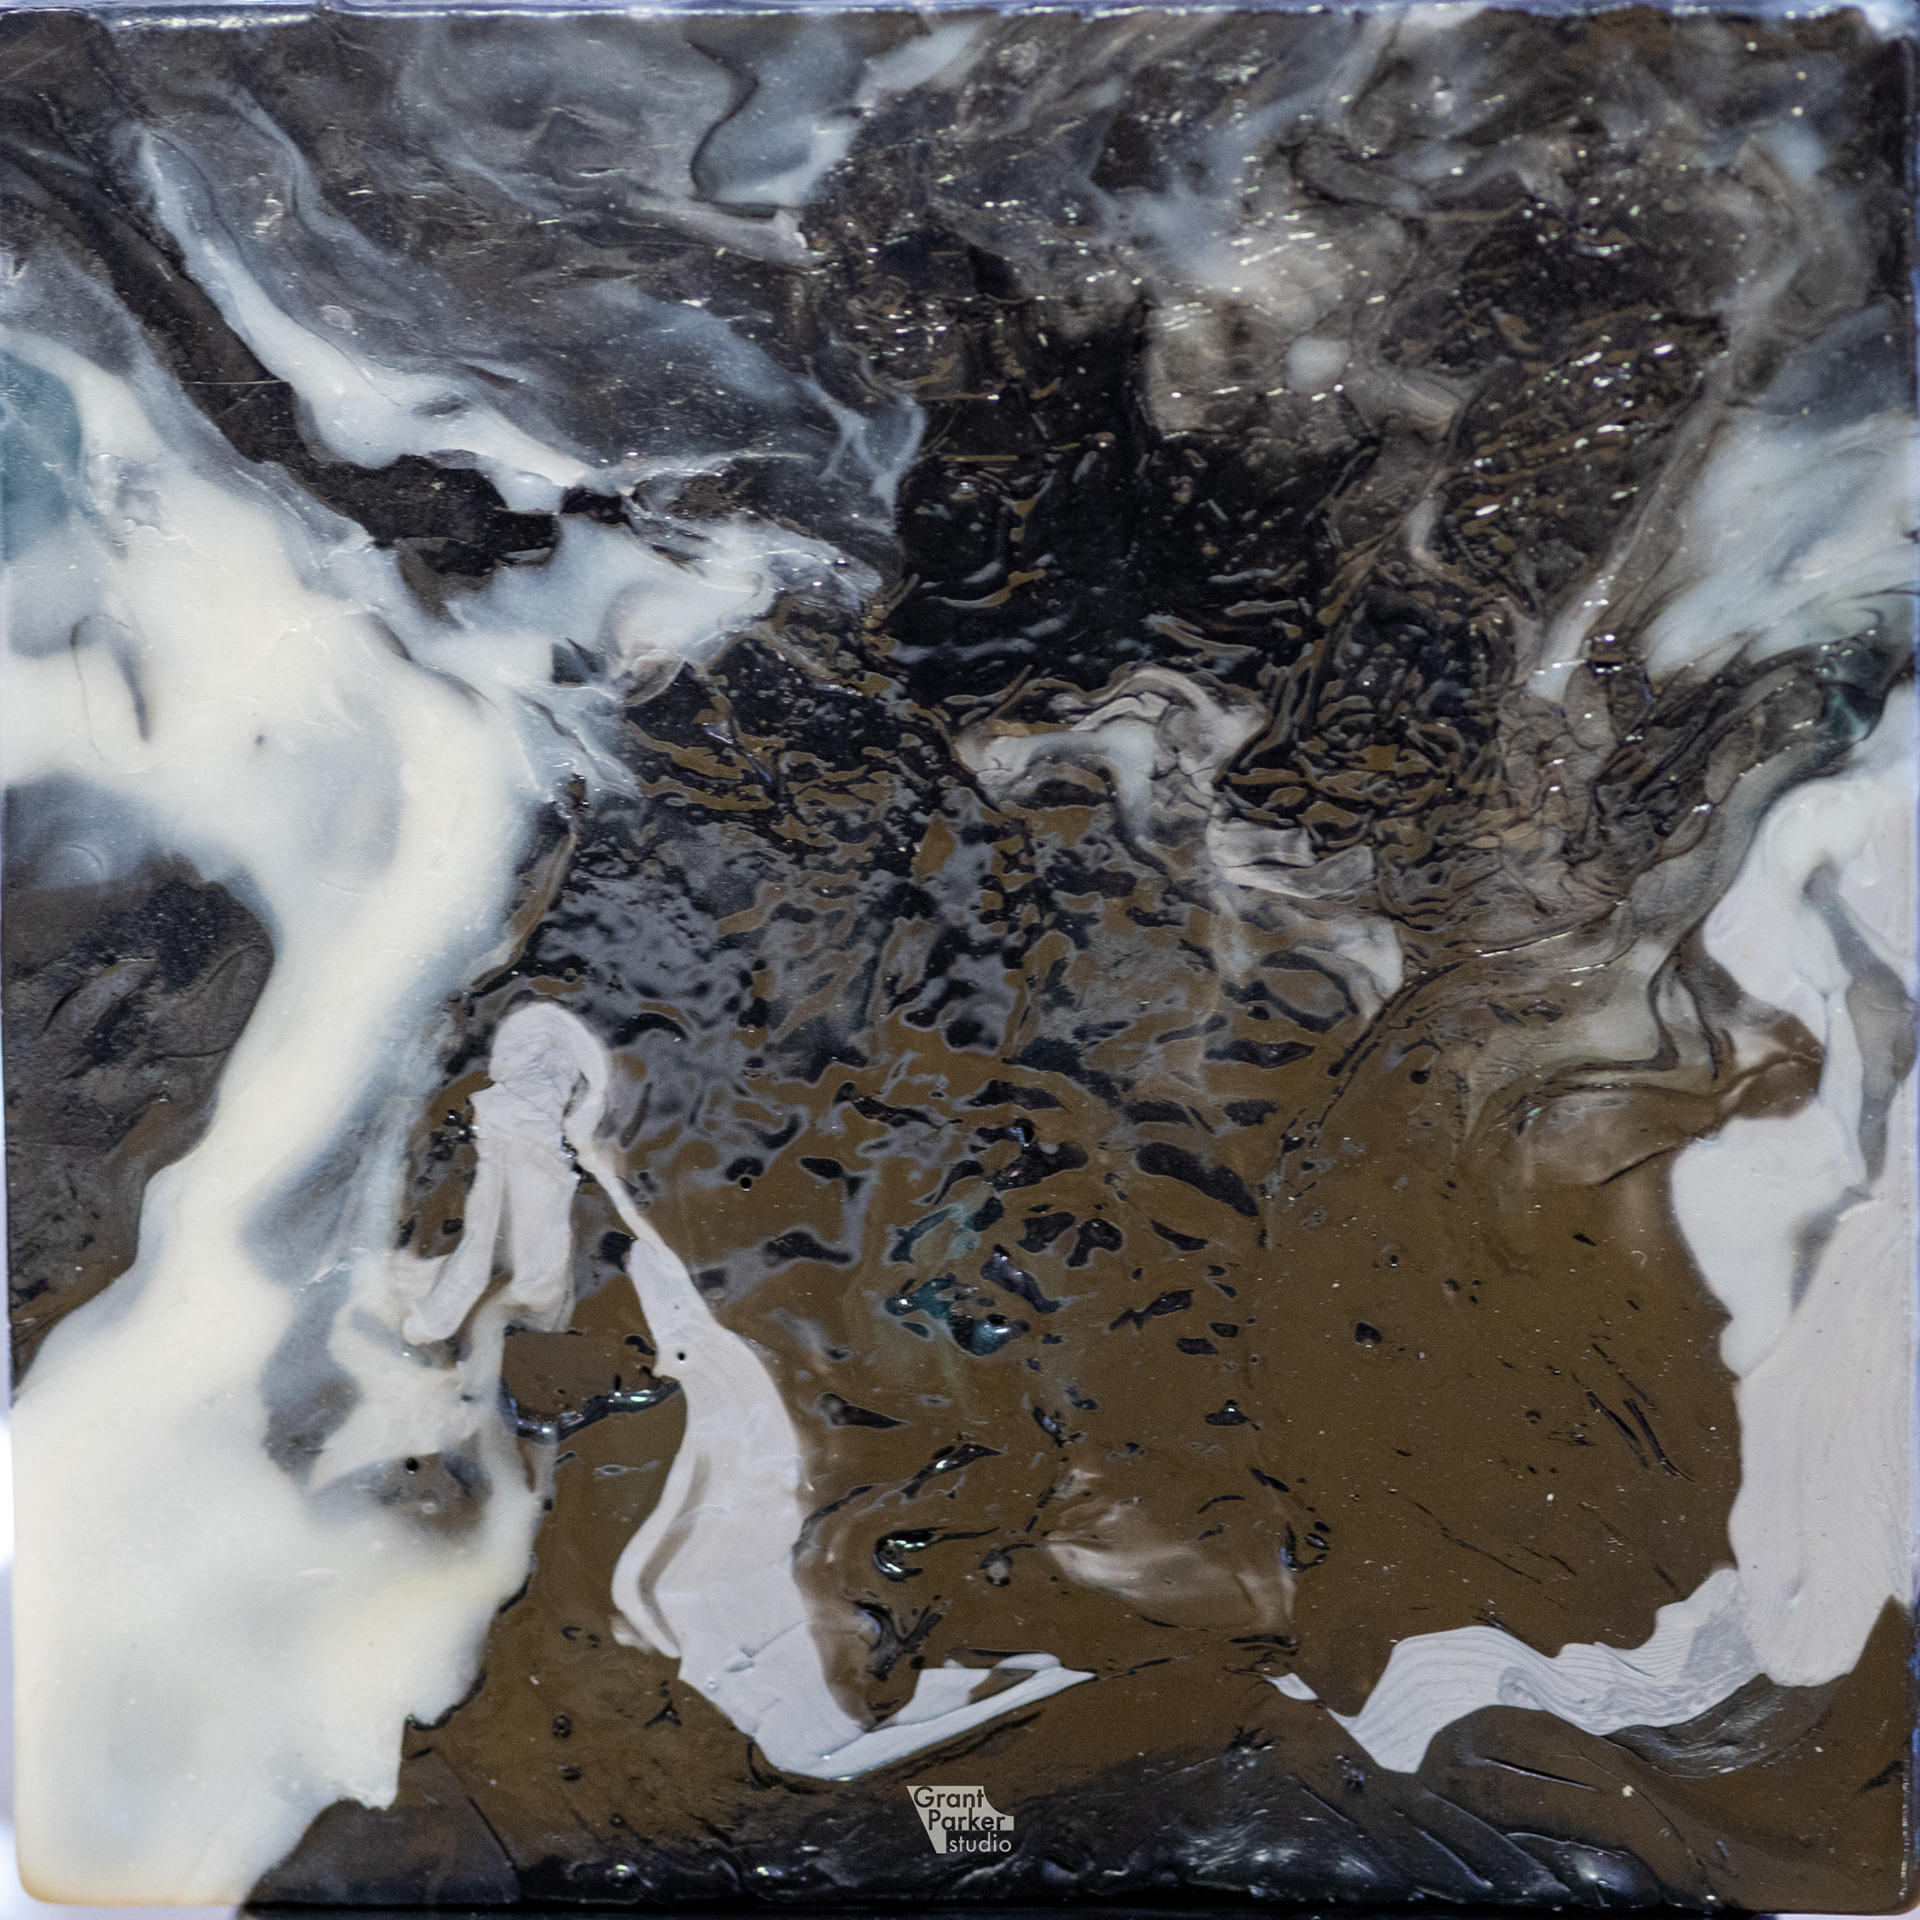
I tried using the heat gun again to smooth the surface and ended up releasing air bubbles. So I need to work on removing more of the air next time.
I will continue to heat the mold on the next melts as this really helped to smooth that side..
For Next Time
Finish the steel sheet for the other side of the mold.
Work the plastic more before placing in mold. I have not been twisting the plastic much to keep the parts chunky but I need to see if I can remove more of the air bubbles.
Reach out on my contact page if you are up to collaborate or have any thoughts to share. Thanks for reading and good luck with what you create!